The South Padre Island Flip Flop Foodie Brownsville restaurants

Search The South Padre Island Flip Flop Foodie Blog!

Thursday, December 25, 2014

Cinnamon Rolls - Christmas Morning


Since it is just me, Mr. Flip Flop, and the 21 year old youngling at home for Christmas morning, I took breakfast requests.  Ian wanted cinnamon rolls...homemade.

Shoot, no problem.  I'll look up one of those recipes that you throw in the night before and pop in the oven the next morning.  Easy...right?

WRONG!

It started out great.  I had all the ingredients out, prepped and measured (except the flour) and I started with a recipe from allrecipes.com.  Unfortunately, the ingredients didn't exactly mesh with the instructions but I figured I could work it out.  It was evening of Christmas Eve - dinner was over - dishes done - this was all I had left to do.

The first part was heating some milk and then adding butter off the heat and allowing to come to lukewarm temp.  I stood there for about 10 minutes checking the temperature with a thermometer - I didn't want to kill the yeast.  I grew impatient with that and put in a thermometer with a digital alarm to tell me when it was 115 degrees.

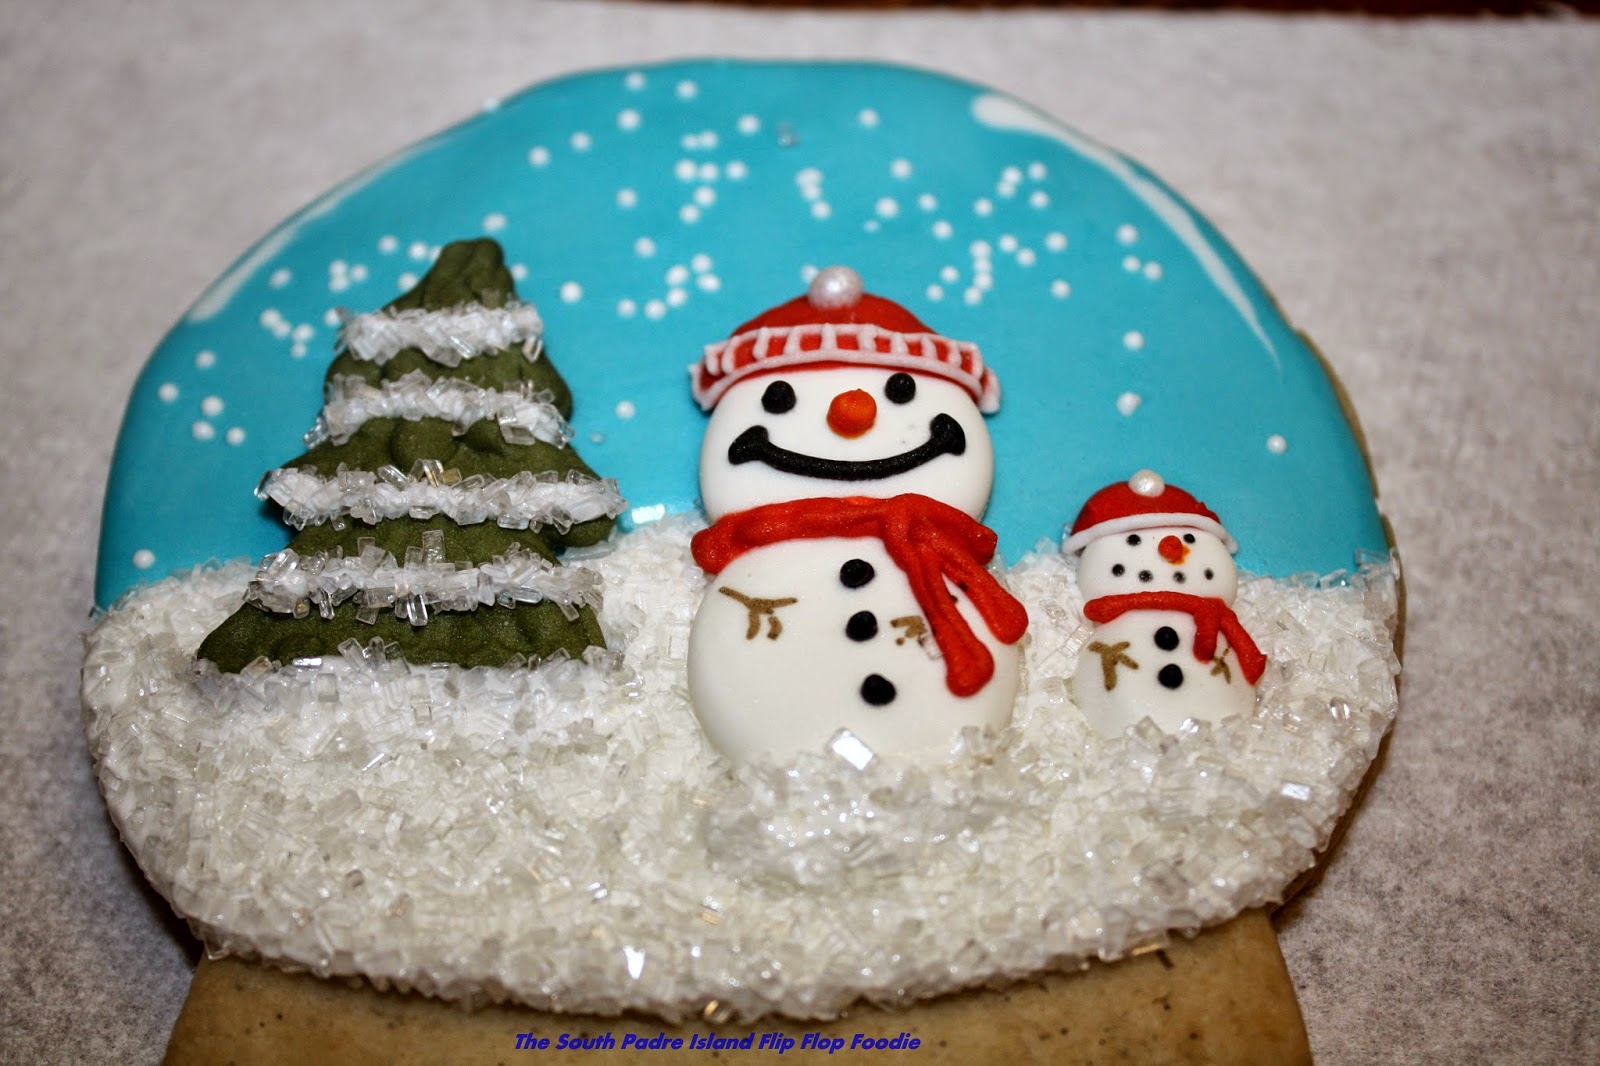
I went into the living room and started writing my blog post about the gingerbread house I made, simultaneously watching the season finale of Homeland on the DVR when all of the sudden it was 11:00!  We were headed to bed and my husband said "didn't you have something going in the kitchen?"

O*M*G!!! - a small screech came out of my mouth and I scurried into the kitchen to find the temp at 77 degrees (too cool to activate yeast).  Even if I warmed it up, I'd have to let it rise for an hour after finishing the kneading and then roll it again and make and fill the rolls and then cut the rolls...you get the picture...I had at LEAST an hour and a half left to get those puppies in the fridge.

Not happening.

I told Mr. Flip Flop I would rather stick the now-cooled-pan in the fridge and get up earlier Christmas morning and finish the task.  I was exhausted.  So, that is what I did.  Unfortunately, I couldn't sleep through the night and woke up twice, ending up in the living room reading to get myself back to feeling sleepy.  Result?  I slept until 8:15 Christmas morning.

Fortunately, we're all adults.  Mr. Flip Flop kept sleeping, Ian got up, grabbed a coke, took a shower, and returned to his room without speaking. (he's 21 going on 16 some days)

I was in control this morning - I was rockin' it this morning.  I quickly pulled the milk and butter, popped it on low heat, and grabbed my Kindle to check my email and Facebook.  A few "seconds" later (hah, likely 15 or more minutes knowing me) I heard BOILING.  OH NO!  I grabbed the pan off the heat, grabbed some ice, threw it in the sink and sat my pan on it.  Out came the instant read thermometer...it was already down to 150.  I stood there until all the ice was melted and it was still 130.  I got one of those freezer paks and set it in the sink and put the pan on it.  Oh thank goodness.  Down to 115 in nothing flat.  I stirred and poured it over the yeast and fed it with sugar.  The rest of the dough proceeded BEAUTIFULLY.  A wonderful soft, poofy dough.  After the one hour rise (where it did double in size as required) I punched and rolled and measured and rolled again until I got it into a lovely rectangle shape.

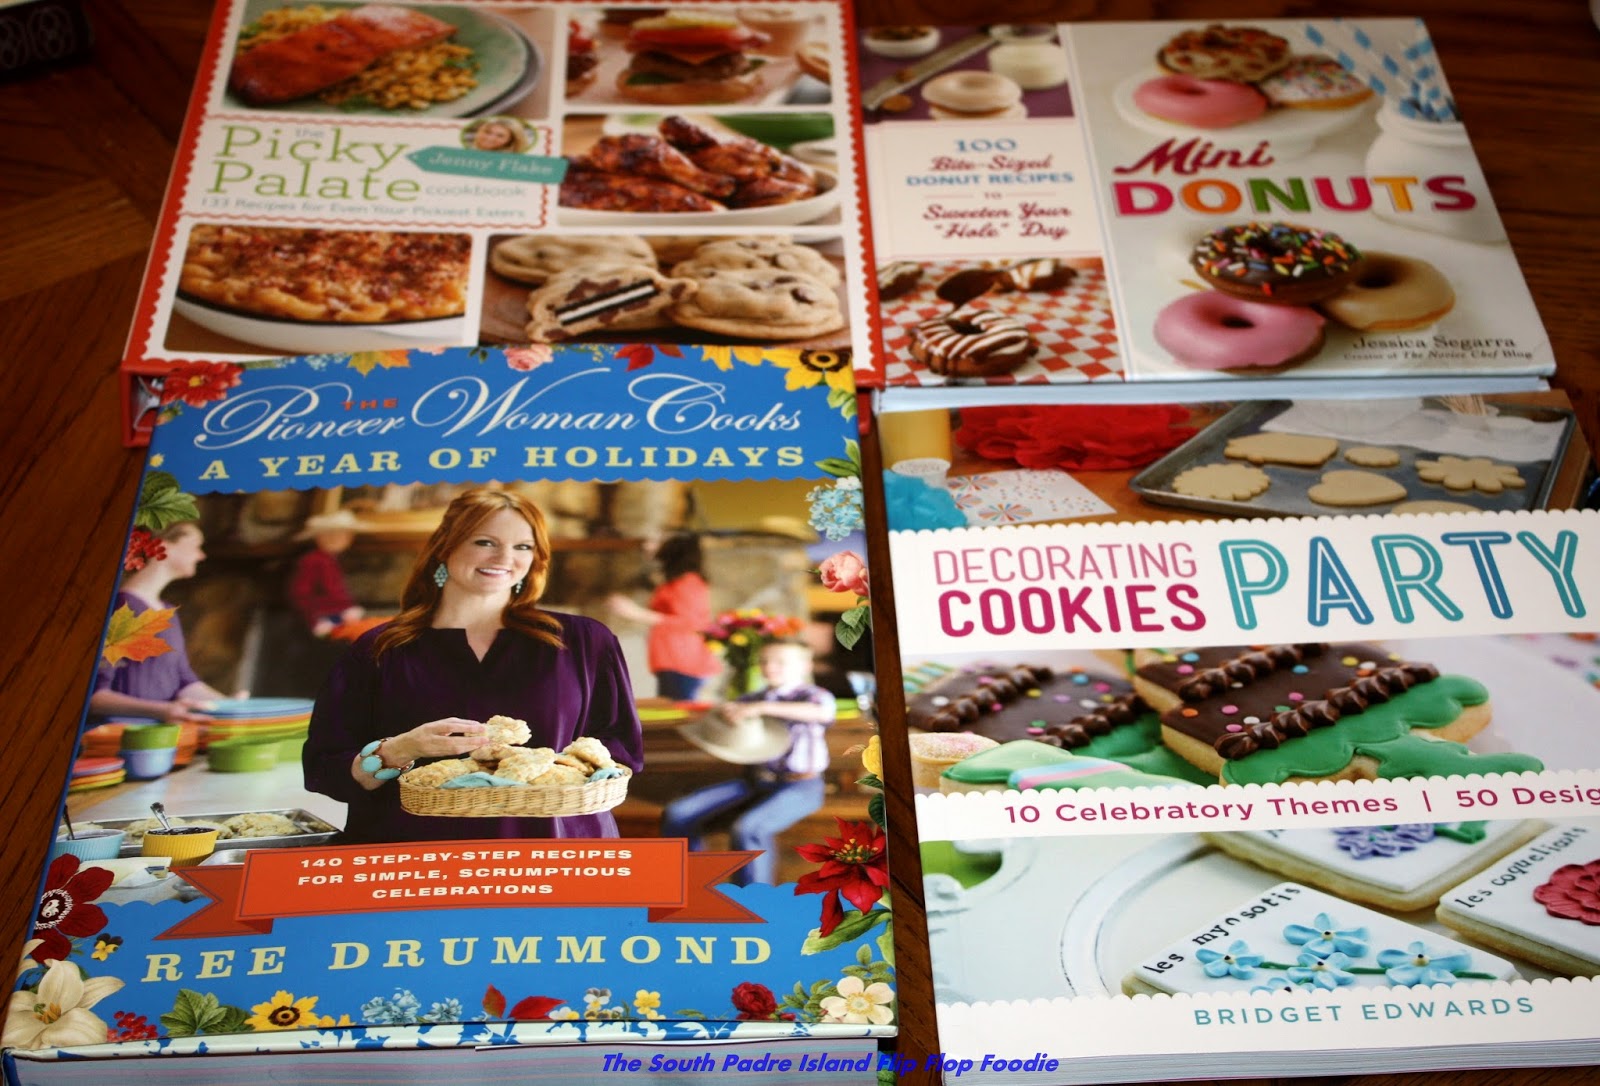
As I looked at the filling instructions I thought "Huh? That can't be right!" so I ran over to get The Pioneer Woman's new cookbook that I won last week, thinking surely she would have cinnamon rolls in a holiday cookbook.  She did have it listed as a variation on an apple breakfast roll, so I looked at her ingredients for the filling and between the two recipes, I had what I thought sounded good.  I told my friend it was a Frankenstein recipe - bits and pieces from here and there..

I, of course, did not take any pictures of the process - who the heck has time for that on Christmas morning when you haven't had enough coffee nor sleep to be cogent?  Well, certainly not me.  Let me tell you, though, this was a wonderful cinnamon roll.  It was supposed to make 12 but I cut the middle section too thin and ended up with 13...kind of squished on the end...but still very, very delicious.  As you can see, we all dug in!


Here's the recipe I promised I would share for my friend, Diana.  But, really, Diana, you can skip the over-cooking, over-cooling, over-boiling of the milk and butter.  I'm sure it would work just fine without those extra crazy-making steps!!!

Christmas Morning Cinnamon Rolls
Inspired by AllRecipes.com and The Pioneer Woman

INGREDIENTS:

Dough Ingredients:

1 cup milk
1/3 cup butter - cut into pieces
.25 ounce package active dry yeast (that is 2 1/2 tsp if you buy bulk like I do)
1/2 cup granulated sugar
4 1/2 to 5 cups flour
1 teaspoon salt
3 eggs

Filling Ingredients:

4 Tablespoons butter, melted
3/4 cup dark brown sugar
1 Tablespoon quality cinnamon
(you can add raisins or nuts if you like - we don't like)

Glaze Ingredients:

1 1/2 cups sifted powdered sugar (confectioner's)
1 tsp. corn syrup (like Karo)
1 teaspoon vanilla extract
1 to 2 Tablespoons heavy cream or Half and Half:

METHOD:

Prepare a stand mixer with a dough hook.  Add yeast to bowl.

Heat the milk in a small saucepan until it barely bubbles.  Remove from heat.  Add the butter pieces to the milk and stir until melted.  Use an instant read thermometer and when it is exactly 115 degrees, pour the warm milk and butter onto the yeast.  Stir and add the granulated sugar, stirring again.  When you see it begin to form bubbles, add the eggs, salt, and two cups of flour.  Turn on the mixer to a medium low speed and let the dough hook stir until blended - add another cup of flour - increase the speed to get it well stirred in and add more flour until you get to the point where it has pulled together.  Allow the stand mixer to knead for about 5 minutes.  The dough will be very soft but holding onto the dough hook.  Add some flour to your counter or board and put the dough there to finish kneading by hand for about 3 minutes.  Soft and smooth is the goal.  Place dough in a lightly greased bowl and cover bowl with plastic wrap or a lightly dampened cotton dish towel.  Let rise in a warm, non-drafty location for 1 hour.  Should double in size.

In a small mixing bowl, mix the cinnamon and the brown sugar with a fork.
In a small bowl melt the butter for the filling in the microwave.  Took less than 30 seconds for me.

Punch down the risen dough and place it on a lightly floured surface.  Roll it into a rectangle approximately 10 x 15 inches.
Using a basting brush, completely cover the top of the dough with butter.  Sprinkle on the brown sugar and cinnamon mixture.  If you are going to use nuts or raisins - now would be the time to add them.

Starting at the longest side closest to you, firmly roll the dough into a log.  Pinch together the final edge and place the pinched side down.  Cut into 12 even pieces (I'm sure you'll do better than I did).

Lightly grease a 9x13 inch baking pan (I used a Pyrex pan).  Place the 12 pieces evenly in the pan.
Allow to rise slightly while you preheat your oven to 375 degrees Farenheit.

Bake rolls 24 to 30 minutes - watch carefully in the last 10 minutes.  Mine went from not ready to perfect in a two minute window (total of 26 minutes).

While they are baking, prepare the glaze - mix all the ingredients in a small mixing bowl with a small whisk.  You want your glaze to be able to drizzle but not too thin.  Adjust the cream accordingly.  If you go too far, just add a bit more powdered sugar and all will be well in your world..

When the rolls are golden brown they are ready.  Drizzle the glaze over the rolls.  Serve immediately.

Bon Appeit, Y'all!


StumbleUpon

Wednesday, December 24, 2014

Gingerbread House - My First One!

Have you ever made a gingerbread house?  I know many cookie artists make several each year and I stand in awe.  I've set up some so my grandkids could make gingerbread houses (with the requisite eating of half of the decoration candies) but, never have I tried to make one myself.

I bought a few kits last year and ended up letting them sit there.  I grabbed one out this year and checked to see if it was in usable form...I knew this was going to be a practice project and would never even be considered edible in any form or fashion...so I went with the year old, hard as a rock Wilton gingerbread kit.

I had bits of bags of royal icing left over from my final decorating day yesterday (the 23rd) so I got all set up to "play house".  Since I had imagined completely frosting a yard around the house with snowmen and trees, I decided to use a 12" cake round instead of the included small rectangle.  I also basically ditched the candies in the kit (they had not fared so well).  I had leftover royal icing transfers I imagined using in different ways, I had several candies I had on hand I considered using, and I pulled out my tools, food color paint palettes and paint brushes.  I was ready to roll.

I first planned (in a very vague way) how I would decorate each panel.  I knew it was hard to pipe on a vertical surface so I did the basic door and windows while laying down and dried under a fan until very well crusted.  I regret not painting the door to look like a wood door, I like how the windows turned out - piped white royal icing and then painted with yellow food color, then painted a tree in one window and candles in another.  When they dried I piped black window frames and window panes.  The sides didn't even up like I expected, but, well... it was my first time.  I had some leftover Santa belts and a Santa nose that I used for door hinges and a door knob (clever huh?) and I had a holly transfer that I hung on the door.  The sides were painted or used transfers and the back used some "learning curve" poinsettias that I have had on hand for about two years (no one is eating these).  Once the basics were finished I was ready to start constructioning.


I followed the directions for basically putting it together...and I'd seen other cookie artists struggle with keeping the roof jacked up, so I was ready for that.  Ironically, it was hard to keep the roof positioned...my stabilizers kept sliding.  With help from Mr. Flip Flop I got it set so it held and I put a fan on it for less than the 4 hours recommended.  I started messing with it after an hour.


I kept adding and adding "stuff" and by the time I was at a point where I thought I was finished, my arms ached from piping that incredibly thick royal icing provided in the Wilton kit.  I have heard others say to throw that away and use your own...but I didn't listen.  I will pay for that tonight, I'm sure.


It was at this point that I showed it to my husband and asked if he thought red dots on the roof would be too much or kind of cool?  He thought it would add to it... and as you know, I love the dots!  Now, I've done this entire thing with tipless bags except for the black window frames and the plastic tip included in the kit for piping the thick "glue" consistency icing.  My arms ached too bad to even consider finishing "the yard".  This puppy was DONE.  One thing I know is that anyone who can pipe vertically is just awesome.  The scrolls, vertical, with a tipless bag...well, that was hard to do.


I have learned a lot through this endeavor...one of the things is "shorten the roof overhang"!  Another, pipe anything difficult while the piece is laying down.  And, one final thing...always pipe the icicles hanging off the roof last.  It was challenging piping on the sides up under the eaves.  A most basic little gingerbread house...but it's MY gingerbrad house and I feel kind of proud of it for a beginner project.  My husband said "what are you going to do with this?"  (like I was some sort of crazy person to do all of this work on Christmas Eve Day)  My reply?  I'm going to look at it and enjoy it in the same way we look at the Christmas tree we decorated... it has no purpose other than to give me some joy.  That's worth all of the time and effort...even if it goes in the trash within a week or so.

I hope each and every one of you does something that gives YOU joy...something that has no purpose, but just feels good.  Merry Christmas to all and to all a good night!

Bon Appetit, Y'all!!!


StumbleUpon

Monday, December 22, 2014

I'm The Happiest Girl... in the Whole USA!

The word "FREE" is near and dear to my heart!

I used to sing that Donna Fargo song at the top of my lungs... I knew every word.  It is just a downright happy song!  It's what I've been humming ever since I got home to find a box waiting at my door... a box I've been REALLY waiting for!  Of course it came while we were out of town, right?

Fortunately, no one absconded with it or I might have been waiting in January and crying in February!
The contents of that box are the prizes from my lucky win of the Land O' Lakes sponsored give-away on Bake at 350, and the Kitchen Conversations Blogger Program.  I got an email from Bridget Edwards last week and, funny enough, I misread it and thought it said I had won a cook book.  Well, I was all "woo hoo" and couldn't wait.  I entered so many contests this holiday season I wasn't really sure which one it was that I had won, so the next day I scooted on over to Bridget's Facebook page, and clicked over to her blog to find OMG... REALLY  W*O*O***H*O*O!!!!  I won the freakin' baking lottery!

I won a "year's worth of butter" in the form of twelve coupons from Land O'Lakes (which I'll likely use up in about 3 months) - each coupon is good for a pound of their delicious butter. That alone is worth nearly $60...it would have been a nice prize all by itself.  But wait, there's more....


I also won FOUR cookbooks.  TWO of which were on my Amazon wish list, LOL!!!  They are ALL signed by the authors.


I regularly stalk Pioneer Woman, Ree Drummond's, Facebook page and web site; and her Food Network show is set up to record on my DVR whenever a new show is out.  Imagine my delight when her newest book "A Year of Holidays" was in my box of goodies...and signed by Ree's own little hand.    


Next in the stack of bubble-wrapped books, Bridget Edwards' new book "Decorating Cookies Party" and I love that she signed it "It's not a party without sprinkles".  She is a Texan, and a woman after my own heart.  I will devour her book repeatedly I'm sure!

Those were the two I had on my wish list.  Now, the other two, I'm not as familiar with, but I expect I'll be plenty familiar with them in no time at all!.


"The Picky Palate Cookbook" by Jenny Flake is one I could have used when my youngest was younger!  He was the world's most picky eater and I could rarely sway him from his picky ways.  I can't wait to see what Jenny has to show me!


The final book was taken out of the box, right after finishing a nibble on some donut holes I bought in Austin and finished when I got home.  I rarely get donuts anymore so it made me laugh out loud to pull out a book titled "Mini Donuts" by Jessica Segarra.  Oh yeah, I'm going to have fun with that book!

Whew - that was a lot of excitement for one short evening!  Thanks so much to the folks at Land O' Lakes... it's the butter my Mom used when I was growing up and I love grabbing it whenever I find it on sale.  I have some in my freezer right now!  They have some great recipes on their web site - you should check it out!  I found a link to their special holiday brochure of treats on Facebook.  It's worth "liking" and seeing all the yummy goodies featured there as well.

Thank you EVERYONE involved in this awesome give-away.  Love winning stuff!  ADORE winning really great stuff!!!

Bon Appetit, Y'all and a very MERRY CHRISTMAS!!!


StumbleUpon

Thursday, December 18, 2014

Santa Redux - but Miniaturized!


Last year I had the most fun making the wonderful Santa from a nesting doll cookie cutter.  The awesome Marlyn from Montreal Confections made an easy to follow tutorial and I made the big cookie twice within my Christmas cookie-baking season in 2013.  I made them for Mr. Flip Flop's co-workers and then I made some more later because I had extra RI Transfers and, well heck, couldn't let those go unused, right?

I mused on what to make this year - I always try to make something new and sometimes I just make one of a specific cookie.  Unless it's a "project" I rarely make more than 2 or 3.  This year, though, I decided to have two projects.  Shockingly, neither are new - but both are different.  The Snow Globes for 2014 were for my husband's co-workers this year and they took an unbelievable amount of time (because I went a little overboard) so I needed to make a second "project" of a smaller, more simple cookie.  I decided to use the smallest cutter of the nesting set I had gotten from Truly Mad Plastics.  I messed with Marlyn's template until I got it sized down to the size of the cookie cutter I was using.  I then used that template to make the tiny little gloves, nose, and belt buckles.  This year, using acetate for my transfers, wasn't the smartest thing because they released so easily that when I added the "fur" to the gloves, they fell off.  I got the loose ones "glued" back to the acetate sheet and quickly dunked them all in a row.  Whew, it worked.

These are the perfect size to add to a simple box of drop cookies when delivering little gifts to friends.  They get a sweet decorated Santa, but I'm not made insane with trying to do too much decorating at the last minute (which I may still do, but I'll be doing it to myself on purpose if I do).  Anyway, that's my plan...we'll see how it goes.

I'm heading North to visit family for an early Christmas so my cookie baking is on hold until next week...and next week is Christmas.  I fear this is all I'll finish.  So, all of the great ideas I have researched and drawn and listed...will likely be held over for next year.  Sometimes it happens that way.  I was sick when I should have been starting and, not desiring to share germs, I just couldn't get it all done.  Jeez, that's beginning to sound like a recurring theme... "I just couldn't get it all done".  I'll just repeat my mantra "it is what it is"!


Enjoy the look-see at this cute rendition of Marlyn's great cookie - which is sure to be a classic for me and mine!  Merry Christmas, friends!

Bon Appetit, Y'all!!!


StumbleUpon

Wednesday, December 17, 2014

2014 Snow Globes

I am frequently asked "do you sell your cookies?" The answer has become a resounding no.  I did a few times, but found the stress involved more than I care to handle.  However, I do make cookies, from time to time, to give to friends, co-workers, and family.  It is a time-gobbling, labor of love, hobby!  I don't know how professional cookie decorators do it.  After about 10 days of this, my hands and shoulders ache.  I still have much more to do before Christmas arrives!

This year I have spent a long stretch of time creating the 2014 version of a Christmas Snow Globe.  The original tutorial for this lovely cookie was created by SweetAmbs and can be found on youtube.  Last year I made a few, but this year I made a dozen.  I was much more organized than last year.  I made my royal icing transfers a week before and it took 3 days to complete them.  I tried acetate for the first time instead of my normal parchment paper.  Wow!  Talk about sliding right off and zero breakage!  That is indeed the way to go if you have a lot to make!  I made a variety of snowmen and trees and the detail work was so time consuming.... I may make them in the Summer this next year.  I'm so far behind on my regular baking, I know this year is not going to be up to my expectations.

Royal icing, piped on  either acetate sheets, parchment
paper, or wax paper and allowed to dry until hard, are called
Royal Icing Transfers.  They keep forever in a sealed container.
A step above the "candy flowers on a sheet" you buy at
the grocery store.  I adored eating those as a child.
These are miles above the factory-made decorations!
After drying, store in a container with a good seal.
For delicate decorations like these, I temporarily
used a cupcake and deviled egg carrier.
Long term storage would be a plastic container
with bubble wrap between the layers for the
snowmen and the trees are sturdy enough
to just be in a container sans bubble wrap.

However, I like the snow globes a lot, so the effort has given me a sense of satisfaction, despite the physical aches and pains!  Once they get baked and cooled and the various icing colors and consistencies all mixed up/bagged and have the proper sprinkles on hand (white nonpareils were not to be found this year - I had to order online and pay for express shipping...then low and behold, they appeared on the HEB shelf the next day - ayi!), anyway, once all that is done, the actual decorating took three days.  I made one dozen.  They are large cookies so it took 1 1/2 batches of my Vanilla Bean Sugar Cookie Dough (that's a lot for one dozen cookies).  I hope the lucky recipients enjoy the effort that went into these.

I hope you will watch Amber's video and then see how you can use an available cookie cutter, different sprinkles, and different design details to make it your own, like I did.  It doesn't have to be perfect (mine sure aren't) and each of mine are different.  Here's a photo journal of making this fun cookie.  Enjoy!


After baking and allowing to cool, I piped on sky blue royal icing, 
then while wet, sprinkled on some white nonpareils.  
Then I piped a white royal icing "reflection" 
on the upper edges.  This technique is demonstrated in the 
video tutorial from SweetAmbs.
These must dry completely (over night) before you can continue.
I am using some "tipless" piping bags.  
I ordered them on E-bay and they are very popular 
in the cookie artist community.  
They are very thin, you can cut the tip, thus the
nickname "tipless bags".
(if you don't need any fancy tips)  

They are so cheap you can throw them away
without feeling like you should clean and reuse.  

A sharp pair of embroidery scissors helps 
you get the tiniest opening...or a slightly larger opening
for the flood consistency I was using here.  Cool new tool!
Base for the "snow" is ready for some sparkle 
to be added while still wet.
I use a bead tray for sprinkles.  
It's easy to pour the leftovers back into the jar
using the little tubes at the end of the tray.  

I chose to use sparkling sugar
crystals for the snow 
on the ground.  
I like the glistening appearance.
Once the sparkling sugar is on and you have neatened up the 
edges of the snow globe with something like the yellow 
boo-boo stick on the right, it is time to apply
the royal icing transfers by applying some of the 
same white RI to the back
and carefully placing it on the cookie.
You can see that after you press the RI transfers, the icing
is displaced and moved towards the edge.
You'll need to neaten the edges again.
Now I want to add some depth and further dimension.  
I pipe some royal icing
on the tree and at the base of the tree and snow people.
This time I lay the cookie in the tray face up and manually sprinkle 
sparkling sugar over the wet icing and then carefully 
move the cookie up so that the excess falls off.
I clean it up with a dry paint brush in case sugar is where 
I don't want it....and once more  fix the edges of the snow 
to be even with the blue sky while it is still wet.  
Allow to dry overnight
or with a fan blowing on it for several hours.
The base is a simple flood.  Use a needle tool or tooth pick
to pop any bubbles or smooth any bumps.
Allow to dry.  
Then pipe a red line on top of the outline of the base.
Allow to dry.
Top outline again to get height and dimension.  

And, again allow to dry.
A simple zigzag and dot  pattern  in green outline 

consistency icing  with a very small opening 
cut in the tipless bag (on top of the dry red) 
gives it a Christmasy look!
The last step is piping some white snowflakes in the blue sky 
in any blank spaces.  I usually add 3 or 4 of these.
Allow everything to dry at least 12 hours before bagging 

(I always dry under a fan for 24 hours 
because of our humidity and then bag)
Now that I'm finished with this project, I can move on to my small nesting doll Santas which are a take-off, or miniaturization, of the large ones I did last year.  Got to get busy...Christmas is coming fast!


Bon Appetit, Y'all!!!


StumbleUpon

Wednesday, December 3, 2014

My Favorite Cookies


It's December....

It's Time!

CHRISTMAS COOKIES!

I wanted to give you an easy to find list of my favorite cookies from past years.  Many I make over and over - some are reserved just for Christmas time.  I included my favorite brownies and homemade marshmallows...things that would go nicely on a "cookie tray" you might make for you friends or family.  So, here they are - enjoy!


DROP Cookies

Oatmeal Cookies

Whole Wheat Chocolate Chip Oatmeal Cookies

Cranberry, Chocolate, Oatmeal Cookies

3-Kinda Chocolate Chip Cookies

Toffee Chocolate Chip Cookies

Mint Chocolate Delights

Forgotten Meringue Cookies

Lemon Ricotta "lemon drop" Cookies

Meringue Kisses

Chewy Chocolate Meringue Cookies

Peanut Butter Kisses aka Blossoms

Melting Moments

Chocolate Gooey Butter Cookies

Spice Gooey Butter Cookies


BAR or SHAPED Cookies

Almond Joy Bar Cookie

Fudgy Chocolate Brownies

Homemade Marshmallows

Peanut Butter Crunch

Amish Friendship Bread made into bite-sized or mini cakelets

Fantasy Fudge

Lemon-glazed Madeleine

Pumpkin Spice Madeleine

Vanilla Bean Madeleine

Sugar Cookie Spirals


ROLLED Cookies
Free Christmas Clipart, Clip Art Pictures, Royalty Free Photographs...
Vanilla Bean Rolled Sugar Cookies

Acorn Squash Rolled Sugar Cookies

Applebutter Rolled Sugar Cookies

Chocolate Espresso Choc Chip Rolled Cookies

Red Velvet Rolled Cookies

Gingerbread Rolled Cookies


Bon Appetit, Y'all!!!


StumbleUpon