The South Padre Island Flip Flop Foodie Brownsville restaurants

Search The South Padre Island Flip Flop Foodie Blog!

Showing posts with label royal icing. Show all posts

Wednesday, June 17, 2015

Pikachu - Gotta Eat 'em All!


My granddaughter always likes to make cookies when she visits...and eat those cookies too!  I noticed she had a "how to draw" book in her suitcase from home and asked if she thought we might make one of those Pokemon on a cookie?  She thought that was a grand idea.

Because we are so busy going to Schlitterbahn at the Beach (she is a Boogie Bahn addict), the project has taken several days.  I had Vanilla Bean Sugar Cookie dough in the freezer because I knew she was going to want to bake.  We rolled out a few cookies together (she now understands that is very hard work).  We cut and baked and waited for the next day.  Then, we made royal icing together (again, "gee Grandma, no wonder it takes so much time to make your cookies" - yep).  I base coated the cookies because she recalled not enjoying that last year.  She did, however, like eating one of the cookies where the base coat fell over the edge.  We ended up with three large 5 inch circles and a few stars to play with.

Today we decided to decorate (is it sad that it took us all morning to finish one big cookie?).  She is so happy with the cookie she is just bouncing up and down wanting to eat it.  I asked if she didn't want to wait and show it to Grandpa when he got home from work.  "Yes, Yes!" she yells and runs back to her Kindle where she is building some incredible roller coaster on her farm in Mine Craft!  There is a plane and an UFO involved as well.  She is very creative!

So, anyway, I'm not great at drawing in general and my hands were particularly shaky today so I printed off a couple of copies of the Pikachu she selected for the design and I used the tissue paper method of tracing the design onto the dry royal iced cookie.  I think I first saw the technique on SweetAmbs' blog and I know I have seen Haniela demonstrate it, as well as others.  The technique is easy to Google.  In a nut-shell, you use white tissue paper (like the kind used in a gift bag) and trace the image onto the tissue paper with a food color marker.  Then, you re-trace (using food color marker of course) on top of the cookie.  The first trace may or may not go through the tissue paper, the second tracing transfers the image to the cookie very easily.

I also thought it would be better to paint the cookie so my granddaughter would have a better chance at participating.  I explained how painting a cookie with food color worked - she thought that was pretty cool and asked how I got the food color on the M&Ms I used on her Paint-Your-Own Easter cookie.  I am enjoying the teaching - she is always so wide-eyed in wonder.  Montreal Confections was the creator of the PYO cookie using the M&Ms...and boy were they a hit!

She and I both painted portions of the cookie and she helped select all of the colors and guided me on any specifics of the Pikachu that I was unfamiliar with.  The we decided to add some of the lightening bolts.  I think Pikachu has some kind of shocking power ... so, of course, that was added.

After she returned to her Mine Craft creation, I outlined everything in black piping consistency royal icing and made up a small amount of red and yellow for a border.  She is very happy with the end result...and can't wait to eat the cookie!

It was fun - and a day I hope she looks back on when she is older and thinks "you know that day we made Pokemon cookies Grandma?  That was so fun".  It's what we live for!

Bon Appetit, Y'all 
- and thanks for reading my blog all these years!


StumbleUpon

Friday, April 3, 2015

Paint-Your-Own Cookies

Ready to package!


This is really just a quick share!  If you want to learn how to make these cute cookies, there is a wonderful tutorial online via Montreal Confections' Patreon page.  It is a subscription - but for as little as $1 per month you can have access to many of her tutorials.  I enjoy learning from Marlyn and I bet you would too.  She was the original creator of the PYO (Paint-Your-Own) cookie - often copied in the cookie world!  She always says she's happy for people to learn and use her designs.  I do think, however, it is important for cookie artists to attribute the source of their design ideas in social media.  That's why you often see my posts including where I learn things.  I'm a little creative...but not THAT creative.  The link to her YouTube channel above shows samples of the types of PYO cookies you can learn to do on her Patreon Channel.  The actual tutorials are on Patreon at this point.

These were my first PYO cookies.  I made them for my grandkids and some friends of my oldest son...everyone seemed happy to get them!  They were also happy to see I had used my Vanilla Bean Sugar Cookie dough.  It's the family favorite.  These cookies were really large and sturdy.  They measured 6 1/2 inches tall and were rolled 3/8" thick.  I only used 1/4 tsp. of  baking powder to prevent spread (but I used a tiny bit so I would have some lift - it's a fine line)!

Simple designs or more intricate.
You can gear it more towards
the age of the child by piping
larger patterns, easier to paint
and stay in the lines...
although staying in the lines
is not at all necessary!

A little tag stapled to the top of the packaging gives
instructions on how to activate the colors.
I loved that this particular project used
food color air-brushed M&Ms for the color dot
instead of more royal icing..
Tasty addition to the PYO line-up!
 Thanks Marlyn, for sharing your creative genius with the world.  I have learned so much from Obi-wan Marlyn!!!

Happy Easter Everyone!!!  May you be blessed with spending the day with your family and/or friends!  Those who don't celebrate Easter - just have a marvelous Sunday!

UPDATE:
I just received a photo of one of the painted cookies.  Yay!  Thanks for sharing the art work :-)

Photo Courtesy of James Harris


StumbleUpon

Wednesday, February 18, 2015

Tricks of the Trade

I often ask myself "why didn't I think of that?"  Yep, it's the million dollar question, isn't it?  I suspect many of us ask ourselves that question when we stumble across something that makes life easier! This post is eventually about creating pods from tipless bags...but first I have to wax on a bit about the creativity that abides in the cookie decorating world.

Fabulous edible art in the cookier world is being created by creative people every day.  Everyday items are also being repurposed by creative cookiers everywhere!  They see a problem and they propose a solution...and before you know it, someone has created a new way to perform a task, and sometimes it evolves into a product that meets the specific need!  Entrepreneurs abound in the cookie world!  Tooth picks to boo boo sticks to needle tools, using craft tweezers to pick up tiny little sugar beads, using a bead tray to corral our sanding sugar and non pareils and safely return them back to the jar. The group of people we all longed to be with started with Cookie Camp, evolved to  CookieCon, and then someone said "hey, how about a CookieCruise?" Learning via online tutorials from Montreal Confections, Haniela, Sweet Ambs, Julia Usher, and McGooU (and so many more)!  Blogs by the awesome Sweet Sugarbelle, CookieCrazie, Glorious Treats, The Enchanted Oven, and Ali's Sweet Tooth (those were my early ones to follow - I follow a LOT more now). There aren't enough words to describe what Julia Usher's CookieConnection has meant to the cookier world!

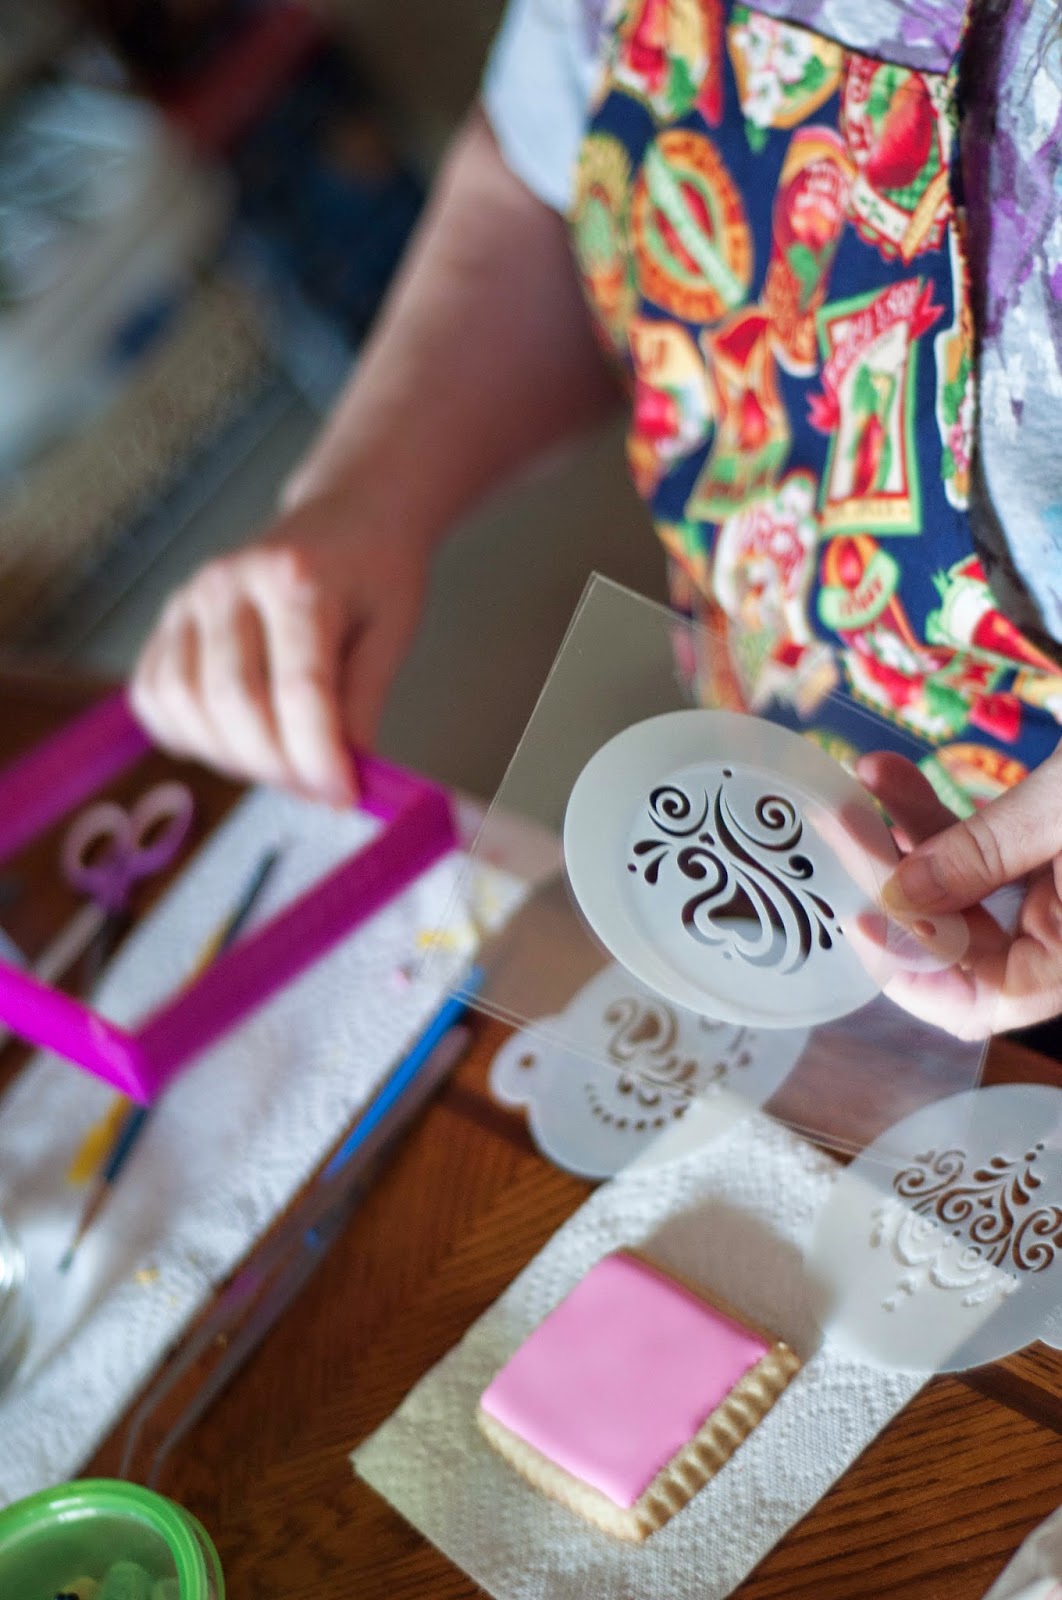
More tools - Ikea Bevara clips to hold your bags closed, cookie stencils in glorious multitudes of designs and shapes, magnets to hold your stencils in place and free up your hands, the Stencil Genie to get away from using 8 to 16 little round magnets, embroidery hoop with mesh to hold a home made paper stencil, stencil masks to hold down the round stencils that don't fit in the square Stencil Genie, painting on cookies by creating a palette of dried gel colors in an artist's palette, a box of pressed dusts to use like a paint box, BRP Boxes to showcase our cookies, and a Notta Cookie to practice on...OMG, the list goes on and on and on.  The cookiers who read this will likely be able to identify each and every cookie artist who DID "think of that".  I know I have followed and learned from many of them... maybe all of them.  Amazing people one and all and I didn't even go down the path of specialized cookie cutter creations!  Plaque cutters alone could take an entire blog post.  Remember when we just had a big circle or a big rectangle to use as a plaque?  Airbrushes, the KK, now miniaturized projectors....I have to stop and get on to the point of this particular blog post! (Talk about run on sentences and a gushing style - oh well, that's me)

One of my favorite newish products is a very thin piping bag, commonly called a "tipless bag" because it can be cut with a tiny little hole and used to pipe words, or a larger hole to outline and fill a cookie...all without the mess and fuss of using a coupler and tips if you so desire.  It's an import (the downside) and is therefore, longer in shipping time, but it's cheap and very flexible and it doesn't hurt my hands as much as "regular" disposable piping bags do after hours of piping.  They are branded as Master disposable piping bags.  I know I have heard of others in the U.S. who sell these online, but I have only bought mine on eBay and just use the search term "disposable piping bags" to find them.  Arrival time is anywhere from 2 weeks to 6 weeks - so don't order expecting to receive them day after tomorrow!

I was washing out other brands of disposable piping bags so I didn't have to throw away bags that could really be used more than once.  I was freezing my leftover icing with the coupler still in so as not to waste frosting and bags...lots of hoops being jumped through to stretch my pennies.  I didn't jump on the tipless bag craze at first because I LIKED using tips.  So, when I first tried them, I used the couplers and tips and just enjoyed the softer bags in my hand.

However, I noticed more and more artists in the cookie world were being seen with a tipless bag in their hand in photos and videos. I am now all happy about that after using them regularly since Christmas decorating....still, often with a coupler and tip.  Another craze that's been around a while is the icing "pod".  I am not 100% certain, but I think it was the idea of that crafty Karen of Karen's Cookies - the beloved supply shop with the happy yellow tissue paper wrapping their goods for delivery.  Also, of course, Karen is the  CookieCon maven along with her husband Mike.  I never fell in love with the icing pod because, well, I'm a bit clutzy and I slung an entire pod of icing around my kitchen when I tried to make one and instantly went "oh hell no".  Others reported better luck with the Press 'n' Seal product to reduce the potential for icing slingage (that's a new word)...but, I just wasn't going there again.  I was kind of stuck in my ways and I walked away from the pod.

But wait, there's more!  While discussing an unrelated topic, I was talking about these tipless bags in a Facebook group for Texas Cookiers, when Rosilind, from The Dough Bar Co. piped up (haha, no pun intended) and said she used the tipless bags for pods, sealing the ends with a sealer tool.  Sirens went off in my head ... "say what????"  Well, Rosilind, aren't you the brilliant girl!!!  When I decorated my Valentine cookies, I used tipless bags as icing pods within coupled tipless bags for the entire endeavor.  Holy smokes was that an awesome thing!  I didn't seal them, but I'm going to do so from here on out!  I'm always kind of slow to evolve.  Everyone in my family will tell you I really don't like change. LOL!
Prepare a coupler bag as usual and put to the side.
Have a second tipless bag ready to prepare the pod.

Using even the unsealed pod just made everything so much easier, across the board.  Now I know why the pod people love their pods so much!  Preparation, utilization, clean up, saving icing...all easier with a pod!  I am on that band wagon from here on out!  I was able to rinse out several of the outer bags and reuse them because they only had a bit of icing around the coupler insert, and the ones that did get overly messy, I felt free to toss.  I used a lot of icing this year so I had DREADED cleaning up the mess!  With this trick, though...wow, so much easier.  I tossed the leftover flood icing - it had sat too long and separated so not worth saving in my opinion.  The piping icing was still perfect so it was sealed and prepared to be frozen.  I was able to flatten it out for much more effective storage in my small freezer.
I used this ultra thin little rubber bands from the hair department
to wrap around the cut tip
These were actually sealed after use - but they held!  Frozen
pods are put in a gallon freezer bag and lay on the bottom shelf
taking up very little room in the freezer.


After a quick thaw, I squished the icing around to
ensure it didn't need re-mixing.  It was good.
Pushed the icing down into tip of bag, twisted, and the pod was
ready to use again.  Piping did well, flood, not so much..
I find flood needs remixing every time after thawing.
I tend not to save flood icing.
I do mark the icing bag with an F or a P to
indicate thickness (use a Sharpie) so I know
what I have when I pick up a bag.

I made a couple of pods of the same color during the heavy use of pink for Valentine's.  It was so nice to just slip out the used  pod, slide in the replacement and on I went.  It even seemed easier to change tips.  I let the inner bag fall gently back into the outer bag while I changed out, then, tipped it forward again and it was ready to go - no muss no fuss.  In the past, I've refilled bags and everything was crusty at the top and, well, regardless of care taken, crusty bits always seem to fall into the icing and, of course, plug up the tips at the most inopportune moments in piping.  Hugely frustrating.  Pods solved that problem and I knew if I didn't use the extra pod of icing, into the freezer it could go and all happy we would be. (that's the royal we...there is no we in decorating at my house...I'm strictly solo unless I have grandkids visiting)

Life changing, Rosilind...just purely life changing for this hobby cookie artist!  Thanks for sharing your marvelous trick of the trade!  I'm sharing the word!

Making a fresh pod in easy steps!

STEP ONE:  Add icing to the bag you will use as a pod.  I find it easiest to suspend it in a glass with the bag top pulled over the rim.


STEP TWO:  Push out as much air as possible, moving the icing as far into the tip as you can.  There is always a little pocket of air at the tip, but that's okay.


STEP THREE:  I use my FoodSaver and seal for 4 to 5 seconds; 3 seconds wasn't enough, 6 was too many.  Before I tried sealing the pod, I used a Wilton Icing Bag Tie for the inner pod. Sealing is easier and lots more efficient when freezing leftover icing.  Also - no crust!  But, still quite doable if you don't have anything to seal with.  Or, if you just want to use it without couplers - this is where you stop - either sealing or tying the back end.  Sometimes I start with the tipless bag and when I am ready to pipe details that need a coupler and tip - I treat it as a pod at that point.


STEP FOUR:  Drop the pod into the bag prepared with a coupler and pull the uncut pod tip through the coupler.
STEP FIVE:  Using your preferred method for closing the back side of your piping bag (I like the clips), secure your bags together...or if you have used a bag tie on the inside, push it down and clip or band above it.  Holding the bag set with tip end up, cut an opening in your inner bag, slide on a piping tip to your coupler, screw on the outer coupler ring and check your flow to ensure it is coming at the speed you want it to.  If you need to cut a larger hole, lean the bag backwards and cut your hole larger in the inner bag, then reapply tip.

When you are finished, unclip, remove the pod, squeeze out the icing in the tip using two tightly pinched fingers, and close with a little rubber band.  Move on to the freezer as described above...or discard if you don't freeze or save your frosting.

Thanks again Rosilind for such an outstanding idea - I just never would have thought of it!!! (Hey Rosilind, if you do it differently, please leave a comment so we know from the originator that there is a different way to do this. I do moderate so it takes a bit before the comment shows up.)

Thank you readers for hanging with me on this very long post.  I love you guys!!!

Bon Appetit, Y'all!!!


StumbleUpon

Wednesday, February 11, 2015

Using a Stencil Mask

These three cookies were all stenciled utilizing a Stencil Genie.
The top right cookie utilized a 2Ts Stencil Mask
This past week-end I had a friend over to photograph some of the process of decorating cookies.  She and I played with icing for a while and then she began working with her camera while I continued decorating.  I asked her to help me photograph the process of stenciling because it was one of the things I could not photograph myself.  She sent me the photographs yesterday and I can't wait to finish writing this post to share her lovely photographs with you!  All of the rest of the photos in this post are courtesy of my friend Jessica of Just Us Photography. You can link to their web site and their gallery has a Food Photography link.

I met Jessica one Summer after we moved to the coast when she did some home visits for speech training with my youngest son who is deaf and wears cochlear implants.  I liked her immediately and have continued our acquaintance through the years.  The Sugar Skull cookies I made were for her wedding.  She and her husband are really good people and I'm thrilled she took her Saturday to come play "photograph my cookies" with me.  She's really quite good - speech therapy training, photography, entrepreneur... I love a multi-tasking woman!


I recently purchased some stencil masks from 2T's Stencils, to use with the Stencil Genie from Creative Cookier.  Both of these companies are Texas-based...which I love!  I have occasionally been challenged with feeling like I didn't have enough hands to get a good stencil on a less than perfectly flat iced cookie.  The Stencil Genie really helped me improve my stencil-ability but it didn't help with some of my favorite round stencils from Designer Stencils.  I love the sturdy products from Designer Stencils, but I regretted the inability to use them with the oh-so-cool Stencil Genie.  When I saw a video of Tammy's masks, I ordered them instantly.  Saturday, the day of these photos, was the first time I used one...so that tells you how easy and helpful they are!


The only issue I had was that my stencil slipped around a bit between the masks.  As I was not spraying the color, instead spreading thick royal icing, I was pushing and there was movement.  My solution was anchoring the center of the round stencil with a needle tool (as I usually do anyway) and working around it.  It allows me not to need any addition of Press 'n' Seal or trying to juggle everything (like when I really need two needle tools and an extra hand to hold one of them!).


I'm all about the "easy" way of doing things and this product definitely helped.  The only thing I was less than happy about was the slippery texture of the mask.  It all turned out well - and I'll continue to practice with the other shapes to see how it goes as I grow more comfortable with the product.  I do bake 3/8" thick cookies, and I like using the thinner side of the Stencil Genie so that it lays down on my cookie and sort of hugs it. That didn't work as well with the mask - so, like I said, will need to play with it some more to see what works best. .I simply seem incapable of icing perfectly flat cookies... this helps without a doubt!  I used my Vanilla Bean Sugar Cookie Dough for this cookie - and I will say this batch was a bit flatter than normal because I only added 1/2 tsp of leavening.  Now, if I can figure out how not to have dips in my icing - no matter what I do, I have slight dips... grrrrr.

Anchoring with a blob of icing and holding a needle tool
on the stencil helps avoid slippage.

Using a plastic scraper instead of a metal spatula
helped me avoid magnet grabbing...but that's
no longer a real problem when you use the
Stencil Genie.  I wish it came in a variety of sizes.
I bake some big cookies it doesn't fit over.

Ta Da! A good stencil...hooray for great tools!
Some simple dots around the edge and voila!  'Tis done!  Well, with a little action from the boo boo stick when  one of my dots became rebellious and didn't comply with my regulation dot size.  I know you guys can tell I am obsessed with dots.  I simply love their look on a cookie.  The great thing about the boo boo stick, which all cookiers know, is that you can take the flat edge and scrape the dot right off of the cookie and it's ready for take-two on the dottage.


I'll admit it is kind of weird to see myself in photos (I demanded no face shots - I had on no make up and I just wasn't going there).  I also find it weird to see my hair in photos of me decorating.  100% of the time it is up in a pony tail or a huge teeth clip.  I really don't want people to find a hair in my cookies!  Ewww (althoug my hair is very clean, it's just a yucky thing).  Jessica, however, kept saying she wanted to get my curls in the picture.  I laughed because even without seeing my face, friends can tell by the hair and freckles that this is me.

I love making Valentine Cookies - it is the epitome of the way I like to decorate - swirls, flourishes, flowers and more.  I have been taking Craftsy classes to learn more and more techniques.  I wonder if the new Culinary School coming to Port Isabel will have a baking and decorating curriculum.  I might need to go back to school if they do!  Secret I'll share - I have dreamed of teaching classes in cookie decorating.  I have to be good enough first...I'll probably be an arthritic old lady before I get to that point... we can always dream, yes?

More Valentine Cookies will be forthcoming - some will have Jessica's lovely photos as well.  I love the soft touch she gets and I can't wait to share the rest of them with you!

Bon Appetit, Y'all!

UPDATE OCTOBER 1, 2015
An email from Tammy with a trick to prevent slippage:

Debbi,  I just read your article from back in February and your stencils slipping.

I had that problem to.  Initially I found
made these to adapt to stencils of all shapes and sizes and sandwiching between 2 pieces.  But that does not secure the movement.  So recently I have been putting the stencil I want to closest to the cookie,   Piping a thin line of royal icing or piping jell around that stencil and then placing one piece of the adapter directly on top creating an airtight seal especially for airbrushing and eliminating under spray but it also holds the stencil in place with less movement for royal icing transfers too.

I hope you give this a try and find it an option and less movement. 

I loved your article!!!!

Tammy
2 T's Stencils

StumbleUpon

Friday, January 23, 2015

Is Blood Spatter Too Much? The CSI Cookie Project

I'm so excited to be participating in the 2015 version of Mystery Week at Paragraph's on South Padre Island.  This year they hosted book signings during the week and are culminating with a Meet the Mystery Authors discussion on Saturday from 1-4 p.m.

The grand finale of the day is a special event from 4-6:30.  We will be conducting an Investigation into Murder at the Crime Scene Investigators Convention... sort of a take-off on a mystery dinner.  Tickets have been on sale since the 14th and I imagine they are sold out...but you can call and check if you want to know.  Meeting our great mystery authors Pat McGrath Avery, Bob Doerr, Joyce Faulkner, and David Harry (Tannenbaum) is worth your time spent, whether you make it to the Murder Mystery or not.  They always make for an interesting discussion group!  I love it when they are all on the island together - something exciting always seems to happen!

I, of course, always need to bake cookies.  Griff and I talked and he suggested "CSI - type cookies".  Uh, OK, I can do that!

Admittedly, I had a load of fun stretching my wings a bit with this set of cookies.  I hand cut my own stencil so I could use their little "man with a magnifying glass" from the event flyer, I learned to make fingerprints on cookies, I used the white tissue paper transfer method I learned from various tutorials online, and I made blood splatter by flicking liquefied red petal dust off of a paintbrush onto base coated cookies (kind of creepy).

To begin with - the stencil making is not that easy by hand.  I bought stuff to do just that a couple of years ago and they just sat in my cookie supply closet staring at me.  It was so easy to order stencils on-line, once I found the vendors, that I really never had cause to consider such a thing as "DIY stencils" after that!  Self-healing cutting mat and a supply of sharp X-acto knives got me through the project.

All would have worked out better had I used my airbrush instead of being lazy and using canned spray.  I had a lot of under-spray as I couldn't "dial down" the pressure.  Lesson learned.


The fingerprints...I tried several different "ways" of doing it...the best results were yielded by coating my thumb/fore finger with corn syrup then dabbing it down to just a little stickiness.  Applied the finger in a rolling motion  (just like they used to do it at the DMV) to thoroughly dried royal icing and let it sit for a few minutes.  Using a dry paint brush and dry dark silver luster dust, I basically copied what you see on the CSI shows.  I lightly brushed the powder across the "prints". and viola!  Well, a bit shiny, but silver was all I had.  Not going on an expedition in search of black petal dust!

The DNA helix was easy, using white tissue paper over a printed picture.  I traced the outline with a food color pen and then placed it on the, again thoroughly dried royal icing, and re-traced with the food color pen.  It bled through, leaving lines for me to follow, and I just piped blue icing on top of the lines with a 1.5 PME tip.  Then, with a size 1 PME tip, I piped the little lines free-hand while looking a the picture.  I reallly liked how they turned out.

I had not used my food markers a great deal, but I must say I am very fond of the FooDoodler brand.  Good color and nice tips.  I used Wilton and AmeriColor brands as well...but, the FooDoodler reigned supreme.  Granted, I hear great things about the Rainbow Dust pens.  I ordered a black one to try out - but it is enroute from the U.K. so it will be a while before I get to try it out.

All in all, I had fun with this project.  Hopefully, the blood spatter, fingerprints, and EKG going flatline won't gross anyone out too badly.  (Mr. Flip Flop is a nurse and I made him explain how an EKG might look...although he said I didn't have enough room... I got the baseline, with Ps and Ts with the qRs in the middle, then V-tach, then flat line demonstrated.  More than I ever want to know - and still not likely all that accurate).

Hopefully, despite all the visual ick on top, the cookies will taste good.  I used my Vanilla Bean Sugar Cookie with minimal leavening so they'd be flat for the stencil and I used LilaLoa's Chocolate Cookie recipe.  I sampled one of each - they tasted quite delicious!

I really want to eat this one... kind of an all-in-one CSI cookie!

Black and White - mystery noir!

Bon Appetit, Y'all!!!


StumbleUpon

Thursday, December 18, 2014

Santa Redux - but Miniaturized!


Last year I had the most fun making the wonderful Santa from a nesting doll cookie cutter.  The awesome Marlyn from Montreal Confections made an easy to follow tutorial and I made the big cookie twice within my Christmas cookie-baking season in 2013.  I made them for Mr. Flip Flop's co-workers and then I made some more later because I had extra RI Transfers and, well heck, couldn't let those go unused, right?

I mused on what to make this year - I always try to make something new and sometimes I just make one of a specific cookie.  Unless it's a "project" I rarely make more than 2 or 3.  This year, though, I decided to have two projects.  Shockingly, neither are new - but both are different.  The Snow Globes for 2014 were for my husband's co-workers this year and they took an unbelievable amount of time (because I went a little overboard) so I needed to make a second "project" of a smaller, more simple cookie.  I decided to use the smallest cutter of the nesting set I had gotten from Truly Mad Plastics.  I messed with Marlyn's template until I got it sized down to the size of the cookie cutter I was using.  I then used that template to make the tiny little gloves, nose, and belt buckles.  This year, using acetate for my transfers, wasn't the smartest thing because they released so easily that when I added the "fur" to the gloves, they fell off.  I got the loose ones "glued" back to the acetate sheet and quickly dunked them all in a row.  Whew, it worked.

These are the perfect size to add to a simple box of drop cookies when delivering little gifts to friends.  They get a sweet decorated Santa, but I'm not made insane with trying to do too much decorating at the last minute (which I may still do, but I'll be doing it to myself on purpose if I do).  Anyway, that's my plan...we'll see how it goes.

I'm heading North to visit family for an early Christmas so my cookie baking is on hold until next week...and next week is Christmas.  I fear this is all I'll finish.  So, all of the great ideas I have researched and drawn and listed...will likely be held over for next year.  Sometimes it happens that way.  I was sick when I should have been starting and, not desiring to share germs, I just couldn't get it all done.  Jeez, that's beginning to sound like a recurring theme... "I just couldn't get it all done".  I'll just repeat my mantra "it is what it is"!


Enjoy the look-see at this cute rendition of Marlyn's great cookie - which is sure to be a classic for me and mine!  Merry Christmas, friends!

Bon Appetit, Y'all!!!


StumbleUpon

Friday, April 11, 2014

Easter and Spring...and a few cookies

I'm taking a quick trip this week-end to see my youngest, my middle, and my oldest!  Rarely do I get to visit with all of my sons at one time.  This is a real treat!  Unfortunately, Mr. Flip Flop is on-call and can't go with us.  I know someone has to do it...but he seems to have an inordinate amount of call scheduled!  Oh well, nothing to be done about it at this point.

I made a batch of Sweet Sugarbelle's Red Velvet Roll-outs because the older two have not had the chance to try them yet.  I think they are primo!  Unfortunately, the Cream Cheese MP Icing got a little wavy when I put it under a fan that was a bit too close to the cookies.  It literally moved the icing! 

I had planned to use a large Easter egg stencil I got a while back...so I made particularly large cookies...the cutter was 5x3 inches...and the cookies expanded 1/2 inch both ways!  The entire batch of dough only made 8 rectangles and a dozen teeny tiny little mini cookies.  Due to the waviness of the iced large cookies, I was afraid to use a plastic stencil with a thick royal icing - that only works when your cookie is nicely flat. 

I decided, instead, to airbrush a background and use some pieces of lace I purchased just for this technique.  I selected two different designs and cut a swatch that would drape over the cookies easily.  I hoped this would "sort of" mask the imperfect surface.  They did a fairly good job of doing just that!  One was sort of flowery and I used a blue pearl sheen for that one.  The other seemed maybe a bit less feminine...and since I had a lot of boys...I added some purple to the blue sheen and sprayed the second half of the large cookies.  I grabbed some wafer papers I had on hand and started flying by the seat of my pants...no drawn out plan as I usually do.

I practiced free-hand printing on all of these cookies -
one of my true weak skills in the decorating arena. 
I read that cookiers were using the thinner Masters brand
bags with no tip and just a bare snippet off the tip of the
piping bag.  I had some on hand so I tried it out on a small
baking mat.  I was really amazed at the level of control I had
compared to the more traditional piping bag and tips with couplers. 
I added a smidgen of corn syrup to a thick
piping icing to get a smooth flow...and it worked! 
Some letters look better than others...
but it is an improvement for me!
The minis just got a quick base coat as my intention was for us to munch on the tidbits instead of decorate them.  Half of them did go that way - but the other half of the minis got a last minute, quickly piped flower to use up some leftover icing.  These little cookies are barely larger than
1 1/4 inch, so REAL minis!

The blue pearled cookies got a dose of Easter décor.  These are the very cute Peter Rabbit wafer papers I got from CookiePixie on Etsy.  She has a wonderful selection of prints, including vintage prints, and I feel her prices are reasonable for quality wafer paper prints.  This batch goes to my Granddaughters and my middle son.


The other cookies (including some not shown - don't get in a snit youngest son - there is one for you) had wafers of blue bonnets applied.  When we start seeing blue bonnets (around mid to late March) in Texas...we know it's Spring.  After such a rough Winter...I'm thrilled that I'll be seeing wildflowers this week-end.  It's a great sadness to me that they don't seem to grow down here by the coast.  I was happy to put them on cookies this year!

I had never tried a running bead border, so I gave it a shot
around the wafer papers.
The outer border was a shell border. 
I did use royal icing for all of the detail. 
The Cream Cheese MP Icing is really quite soft! 
It does, however, have fabulous
flavor on the Red Velvet cookies!

So, wherever you are in the U.S.A., or beyond, I hope you get to enjoy some lovely flowers and beautiful colors in your landscape...some are in Springtime...and other friends are in Autumn.  Whatever it is, I do love the moderate seasons between harsh Winter and hot Summer!  Hope you do to.

Field of Bluebonnets near Austin, TX
Photo by Ian Hook

Bon Appetit, Y'all!!!

StumbleUpon