 |
| These three cookies were all stenciled utilizing a Stencil Genie. The top right cookie utilized a 2Ts Stencil Mask |
I met Jessica one Summer after we moved to the coast when she did some home visits for speech training with my youngest son who is deaf and wears cochlear implants. I liked her immediately and have continued our acquaintance through the years. The Sugar Skull cookies I made were for her wedding. She and her husband are really good people and I'm thrilled she took her Saturday to come play "photograph my cookies" with me. She's really quite good - speech therapy training, photography, entrepreneur... I love a multi-tasking woman!

I recently purchased some stencil masks from 2T's Stencils, to use with the Stencil Genie from Creative Cookier. Both of these companies are Texas-based...which I love! I have occasionally been challenged with feeling like I didn't have enough hands to get a good stencil on a less than perfectly flat iced cookie. The Stencil Genie really helped me improve my stencil-ability but it didn't help with some of my favorite round stencils from Designer Stencils. I love the sturdy products from Designer Stencils, but I regretted the inability to use them with the oh-so-cool Stencil Genie. When I saw a video of Tammy's masks, I ordered them instantly. Saturday, the day of these photos, was the first time I used one...so that tells you how easy and helpful they are!

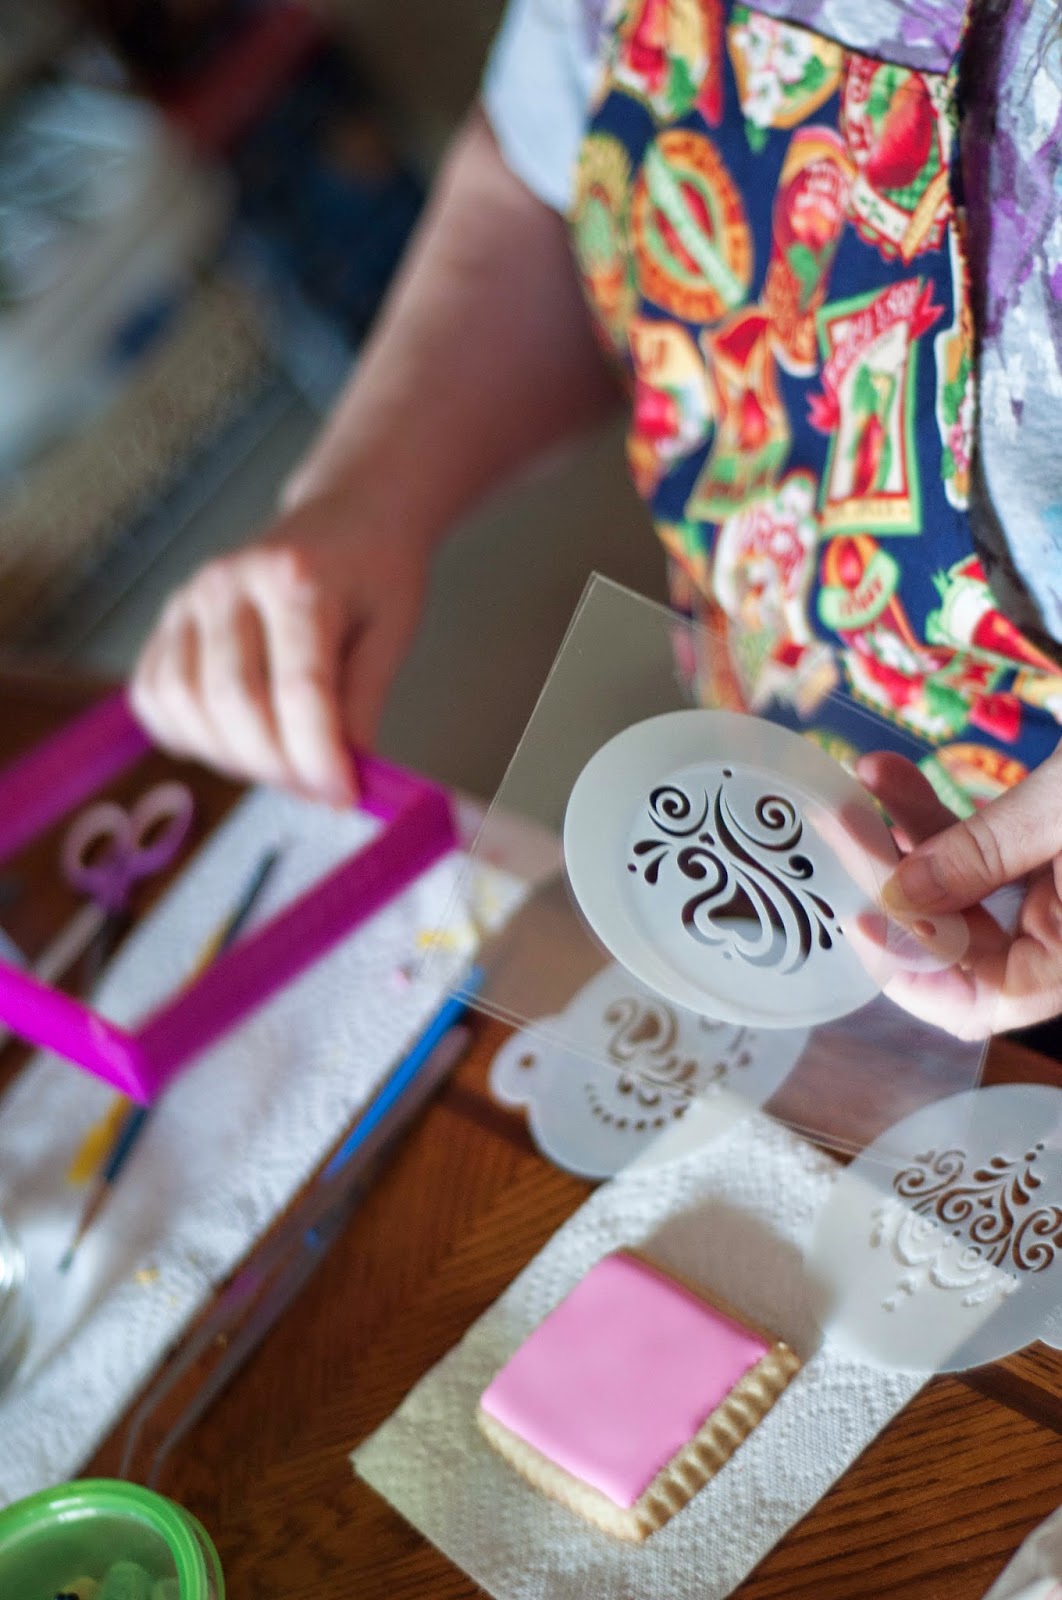
The only issue I had was that my stencil slipped around a bit between the masks. As I was not spraying the color, instead spreading thick royal icing, I was pushing and there was movement. My solution was anchoring the center of the round stencil with a needle tool (as I usually do anyway) and working around it. It allows me not to need any addition of Press 'n' Seal or trying to juggle everything (like when I really need two needle tools and an extra hand to hold one of them!).


I'm all about the "easy" way of doing things and this product definitely helped. The only thing I was less than happy about was the slippery texture of the mask. It all turned out well - and I'll continue to practice with the other shapes to see how it goes as I grow more comfortable with the product. I do bake 3/8" thick cookies, and I like using the thinner side of the Stencil Genie so that it lays down on my cookie and sort of hugs it. That didn't work as well with the mask - so, like I said, will need to play with it some more to see what works best. .I simply seem incapable of icing perfectly flat cookies... this helps without a doubt! I used my Vanilla Bean Sugar Cookie Dough for this cookie - and I will say this batch was a bit flatter than normal because I only added 1/2 tsp of leavening. Now, if I can figure out how not to have dips in my icing - no matter what I do, I have slight dips... grrrrr.
.jpg) |
| Anchoring with a blob of icing and holding a needle tool on the stencil helps avoid slippage. |
 |
| Using a plastic scraper instead of a metal spatula helped me avoid magnet grabbing...but that's no longer a real problem when you use the Stencil Genie. I wish it came in a variety of sizes. I bake some big cookies it doesn't fit over. |
 |
| Ta Da! A good stencil...hooray for great tools! |


I'll admit it is kind of weird to see myself in photos (I demanded no face shots - I had on no make up and I just wasn't going there). I also find it weird to see my hair in photos of me decorating. 100% of the time it is up in a pony tail or a huge teeth clip. I really don't want people to find a hair in my cookies! Ewww (althoug my hair is very clean, it's just a yucky thing). Jessica, however, kept saying she wanted to get my curls in the picture. I laughed because even without seeing my face, friends can tell by the hair and freckles that this is me.
I love making Valentine Cookies - it is the epitome of the way I like to decorate - swirls, flourishes, flowers and more. I have been taking Craftsy classes to learn more and more techniques. I wonder if the new Culinary School coming to Port Isabel will have a baking and decorating curriculum. I might need to go back to school if they do! Secret I'll share - I have dreamed of teaching classes in cookie decorating. I have to be good enough first...I'll probably be an arthritic old lady before I get to that point... we can always dream, yes?
More Valentine Cookies will be forthcoming - some will have Jessica's lovely photos as well. I love the soft touch she gets and I can't wait to share the rest of them with you!
Bon Appetit, Y'all!
UPDATE OCTOBER 1, 2015
An email from Tammy with a trick to prevent slippage:
Debbi, I just read your article from back in February and your stencils slipping.
I had that problem to. Initially I found
made these to adapt to stencils of all shapes and sizes and sandwiching between 2 pieces. But that does not secure the movement. So recently I have been putting the stencil I want to closest to the cookie, Piping a thin line of royal icing or piping jell around that stencil and then placing one piece of the adapter directly on top creating an airtight seal especially for airbrushing and eliminating under spray but it also holds the stencil in place with less movement for royal icing transfers too.
I hope you give this a try and find it an option and less movement.
I loved your article!!!!
Tammy
2 T's Stencils
No comments:
Post a Comment
Comments are moderated - you should see it within a few hours if approved! Spam or marketing comments are immediately deleted. Thank you!!!