The South Padre Island Flip Flop Foodie Brownsville restaurants

Search The South Padre Island Flip Flop Foodie Blog!

Saturday, October 20, 2012

Pumpkin Spice Madeleines

Pumpkin Spice Madeleines
As I have written before, I do have an addiction to those luscious shell-shaped sponge tea cakes known as Madeleines.  I have never strayed far from the David Lebovitz recipe that has always worked so well for me.  However, sometimes you just have to take a walk on the wild side and hope it works!  Here are links for the Lemon-Glazed Madeleines and the Vanilla Bean Madeleines I have made in the past....just in case you want to check them out.

I looked at a lot of blog posts and online recipes, trying to find a recipe very close to Chef Lebovitz's, with the addition of some Autumnal spices...and I was focused on adding pumpkin.  Not much luck.  There were several out there...some with pumpkin, some with just the spices.  None of the recipes were very close though.  So, I got brave and just decided to experiment.  Flop or fabulous?  It's never really wise to mess with a classic recipe...especially when you are hoping to take the goodies to a special occasion (going to take some to author William J. Cobb's The Bird Saviors book signing at Paragraph's on Padre Blvd).  Mehh, I'm doing it anyway....and here's how I did it.

Pumpkin Spice Madeleines
Based on Recipe from David Lebovitz
Makes 24 Madeleines

Ingredients:

3 large eggs, at room temperature (important to be at room temp)
2/3 cup (130g) granulated sugar
rounded 1/8 teaspoon salt
1 1/4 cup (175g) flour
1 teaspoon baking powder
1 teaspoon ground cinnamon
1/4 teaspoon freshly grated nutmeg
1/8 teaspoon ground cloves
1/8 teaspoon ground ginger
9 tablespoons (120g) unsalted butter, melted and cooled to room temperature, plus additional melted butter for preparing the molds
1 teaspoon pure vanilla bean paste
1/4 cup pumpkin puree (I used canned pumpkin)


Glaze:
(this is double the original recipe)
1 1/2 cup (300g) powdered sugar, sifted
1 1/2 tablespoon vanilla bean paste
4-5 tablespoons water (you judge the thickness you like)

Method:

1. Brush the indentations of a Madeleine mold with melted butter. Dust with flour, tap off any excess, and place in the fridge or freezer. (I use a non-stick pan, so I wipe with softened butter instead, using a paper towel...I have found the melted butter pools in the bottom of the non-stick pan causing flour to clump and uneven browning...lesson learned)

2. In the bowl of a standing electric mixer, whip the eggs, granulated sugar, and salt for 5 minutes until frothy and thickened. (it routinely takes me 7 minutes to get to a ribbon stage)

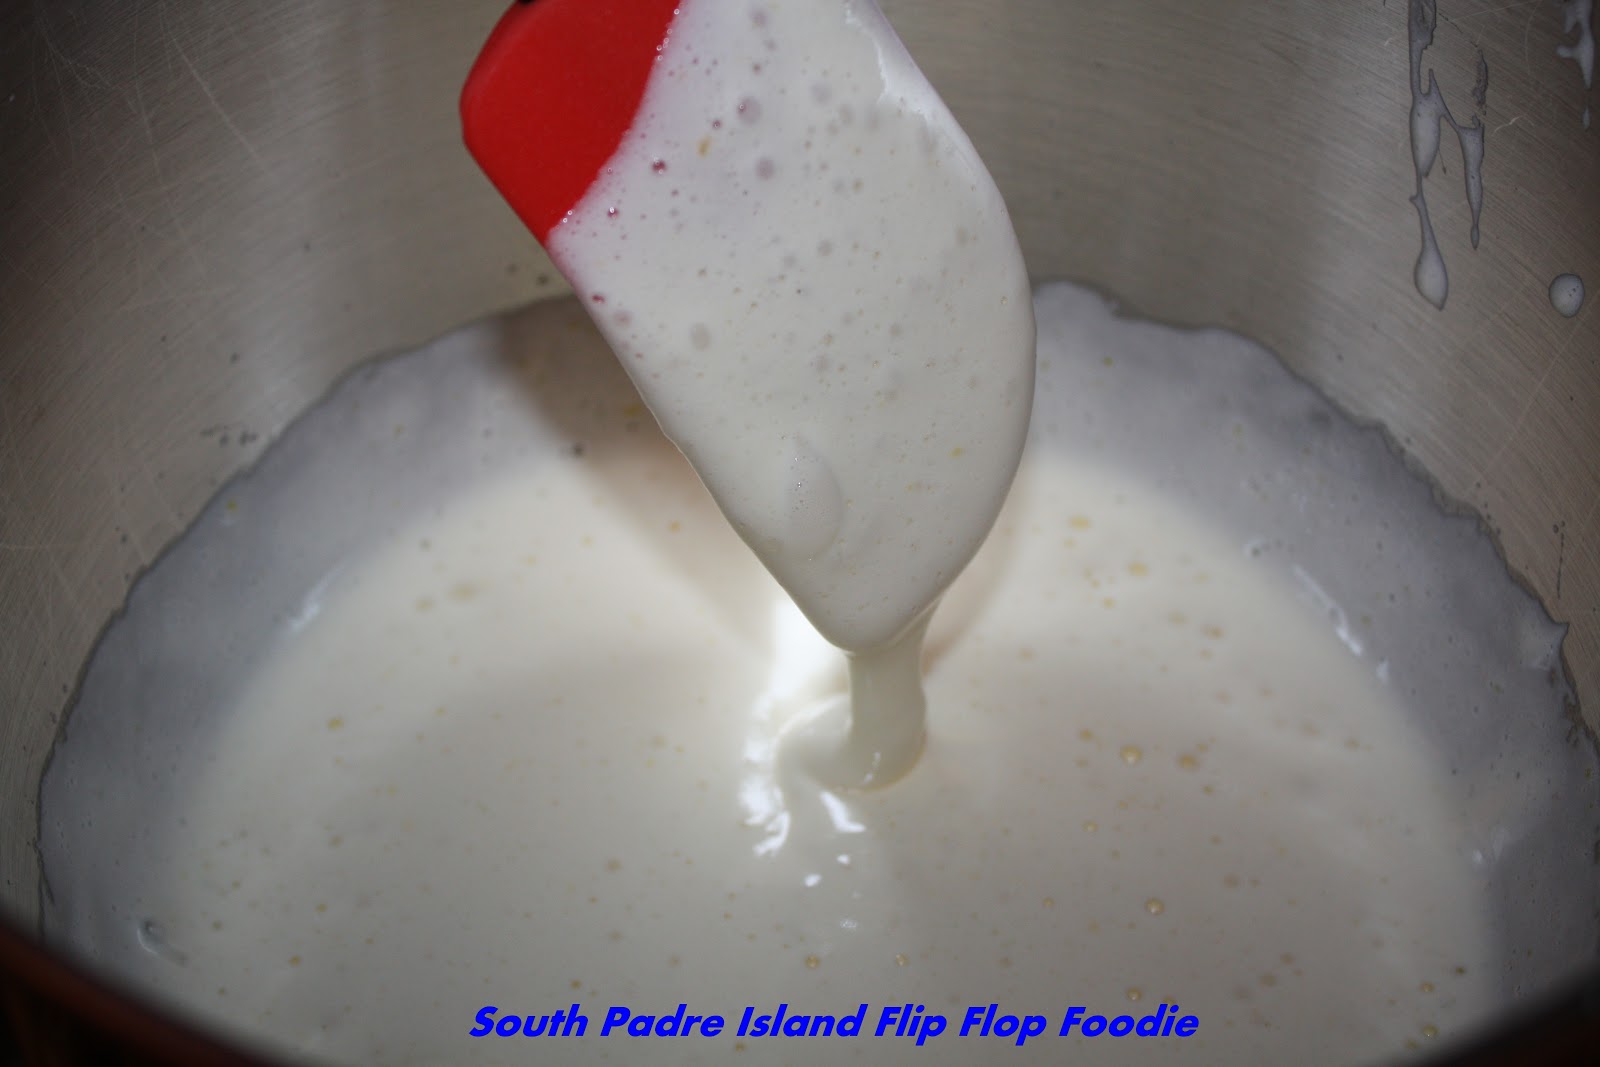
3. Whisk together the flour, baking powder, and dry spices.  Spoon the flour mixture into a sifter or mesh strainer and use a spatula to fold in the flour as you sift it over the batter. (Rest the bowl on a damp towel to help steady it for you.)  Remember to fold gently - you want to keep the air incorporated into the mixture for a light sponge.

4. Add the vanilla bean paste and pumpkin puree to the almost cooled butter and whisk until completely smoothed out (and allow it to cool all the way).  Dribble the butter mixture into the batter, a few spoonfuls at a time, while simultaneously folding to incorporate the butter. Fold just until all the butter is incorporated.  Again, being cautious to fold gently to maintain incorporated air.
I prefer making the pumpkin butter before you need it

Gentle folding is integral

5. Cover the bowl and refrigerate for at least 1 hour. (Batter can be chilled for up to 12 hours)

6. To bake the Madeleines, preheat the oven to 425 degrees.

7. Plop enough batter in the center of each indentation sufficient to fill it by 3/4's (you'll have to eyeball it, but it's not exact science, don't worry if it's not perfect - mine are never all the same size) Do not spread the batter - let it stay the way it lands.**(See note below)
This is the second batch

8. Bake for 8-9 minutes or until the cakes just feel set when pressed gently with your finger. (These took exactly 8 minutes in my oven)

9. While the cakes are baking, make a glaze in a small mixing bowl by stirring together the sifted powdered sugar, vanilla bean paste, and water until smooth.  Use a bowl suitable for dipping the Madeleines.
I like a thicker glaze so I doubled the original recipe amount.
I ended up with leftovers this time...oh well, rather too
much than not enough!

10. Remove from the oven and tilt the Madeleines out onto a cooling rack.

The moment they're cool enough to handle, dip each cake in the glaze, turning them over to make sure both sides are coated and scrape off any excess with a dull knife (or the side of the bowl)  After dipping, rest each one back on a cooling rack, scalloped side up, until the cakes are cool and the glaze has firmed up. (Put a baking sheet under your cooling rack to catch any stray drips). 

Storage: glazed Madeleines are best left uncovered, or not tightly-wrapped; they're best eaten the day they're made. They can be kept in a container for up to three days after baking, if necessary. Freezing a glazed Madeleine doesn't really work - the glaze melts.

Have I mentioned how much I adore Madeleines?  To me, they are the ultimate bite-sized treat (okay, 3 bites).  A happy middle ground between a cookie and a cupcake; glazed not frosted.  They are, in my humble opinion, one of the absolute best treats you can have with a cup of good coffee or hot tea.  I will admit, also, that I love the traditional lemon-glazed the best.  I'm a lemon lover.  The rest of my household, not so much.  Thus, the "always thinking about it" search for different ways to make a favorite treat and make it family-friendly.  I think they are going to love the Pumpkin Spice Madeleines.  They are really tasty and the recipe tweaking worked out mostly okay.

What's different?  Well, they are much more dense, although still spongy.  They only vaguely taste of pumpkin because there was not much in it.  The spices are just right in my opinion, but it could handle a touch more to enhance the pumpkin pie flavor I was going for.  The mixing of the pumpkin and butter is, I believe, the reason they did not spread as much as usual.  **They didn't make it to the top or bottom of the mold shape.  They puffed up more than usual...they are supposed to have a "bump" - but these were completely round on the bottom.  Probably the mixing of the pumpkin butter instead of straight up melted butter is again the blame...I believe anyway.  The batter was "tighter" than usual - again the density result of adding pumpkin?  More "air holes" in the Madeleines as well.  I even tried give the pan a good bang after filling the second pan - but that did nothing - in fact there were more air holes in the second batch than the first.  I tried to fill the holes with glaze with my fingers...that didn't particularly work.  If I make them again, I am going to try skipping the pumpkin to keep the texture more true to traditional...and maybe bump up the spices a tad.  I like the little bump on traditional Madeleines and that was totally missing on these...a fully rounded bottom instead.

Still, the shape looks okay because it had all the mandatory scallops.  They taste delicious and pretty much how I imagined.  I give them a thumbs up for a nice Fall version of a traditional French cakelet.  I suspect purists would NOT agree.  I've never claimed to be pure, now have I? (batting my eyes)

Bon Appetit, Y'all!!!

Shared With:

Ali Bee's Bake Shop Pumpkin Linky Party

Sweet Treats and Swanky Stuff Linky Party

FriDays Made Sweet

Chef In Training

 
HungryLittleGirl
 
 
StumbleUpon

Thursday, October 18, 2012

Halloween Cookies


As previously reported, life is rather hectic right now and baking and blogging are still on a back burner.  I did, however, find time to bake off some Halloween cut-outs using LilaLoa's chocolate sugar cookie recipe and popped them into the freezer for later decorating.  It's taken me over a week, off and on, to get this first batch decorated.  The stress of life-at-the-moment is unfortunately evident in shaky hands!  I made myself have fun with these instead of getting all worked up over imperfections.  I delivered a couple of the first batch (pumpkins) to local friends.  The rest of these will be for the hubs and teen...and a box will be delivered to my grand kids in Austin.  I am having my first foray into freezing decorated cookies.  Fingers crossed.

I've never used this much black royal icing before...I am envisioning black teeth on everyone eating them...but that's all in the Halloween spirit, right???


Creepy spiders and huge spider webs
 
Fall pumpkins

Poor bats - some of their wings don't match right and left...but
I didn't notice until I was finished...oh well!

Bristle-tailed cats - I wasn't sure if they were mean or scared once
I got finished with them!
Ever wonder what the difference in plastic and metal cookie cutters is?
Look at the not-so-crisp edges of the owl (plastic and shallow cutter)
vs the edges of the spider and web below (metal and deep cutter).  It really
does make a difference.
 
I got this set FREE as a winner in a contest on Facebook.
Sweet Art Factory and Karen's Cookies are my favorite
online product providers for my baking needs!  They
also have great tutorials and YouTube videos to help
me along!!!

I have another batch of dough in the fridge - just regular sugar cookies.  I realized I didn't have good cookie cutters for Halloween - mostly plastic.  I like crisp edges.  So, I am expecting a delivery today of 18 new Halloween cutters...all metal!  I sure hope my next batch pays off with sharp edging (and a less shaky hand!)

Bon Appetit, Y'all!!!

SHARED WITH:


Creations by Kara

Addicted Button 2, Addicted to Recipes Butoon, v@

Chef In Training
FriDays Made SweetStumbleUpon

Sunday, October 7, 2012

BLUEBERRY CREAM CHEESE BREAD

I have been away for quite a while - my Mom is in the hospital, and has been since mid-September.  Baking and doing fun things has really been placed on the back-burner.  This has been one of the first cooking/baking endeavors in weeks.  It is a worthy project for a return to blogging!

I found this recipe online several months ago and pinned it on my Pinterest Board of recipes I'd like to try.  It just looked so yummy and I finally got around to making it.  Despite it taking a boatload of mixing bowls, spatulas, measuring cups, and measuring spoons - I'm definitely happy with the outcome.  Being a first try, I didn't change the recipe.  I did have to bake it longer.  It simply was not done at the recommended time.  So, the recipe I've typed below includes that note...and a few other of my thoughts and additional instructions (in italics usually).

I found the recipe at Tasty Kitchen and encourage you to link back to the site and scope out their many yummy recipes.  This one was posted by Savannah in the Breads section.  In my opinion, it is more like a cake - and was eaten with a fork by my family.  We also liked it after it was at room temperature...everything firmed up nicely and it was easier to slice.  The recipe said prep time was 20 minutes...well, she's a better cook than me.  It took me over 50 minutes to pull this together and get it in the oven.  Of course, I had to stop for many photos...maybe that was the problem.

So, here it is...lots of effort, but worth it for a special breakfast or brunch.


Blueberry Cream Cheese Bread
by Savannah at Tasty Kitchen: A Happy Recipe Community

INGREDIENTS:

For the Bread Batter:

1/2 cup butter (I used salted)
1/2 cup granulated sugar
1/4 teaspoon salt
1 teaspoon vanilla extract
2 egg yolks
1 1/2 cups all-purpose flour
1 teaspoon baking powder
1/2 cup milk
1 1/2 cups Blueberries (up to 2 cups she said - I used a pint)
1 tablespoon all-purpose flour
2 egg whites
1/4 cup white granulated sugar

For the Filling:

8 ounces, weight, Cream Cheese (softened)
1/2 cup sugar
1 tablespoon flour
1 whole egg
1 tablespoon Orange zest

For the Glaze:

2 tablespoons granulated sugar
1/2 teaspoon vanilla
1 teaspoon water

METHOD:

Preheat oven to 350 degrees F.

Filling:
In a medium bowl, combine cream cheese, sugar, 1 tablespoon flour, whole egg, and orange zest; beat until smooth.  Set aside.

Glaze:
Stir together the glaze ingredients (2 Tbsp sugar, 1/2 tsp vanilla, 1 tsp water) and set aside.

Bread:
Cream butter and 1/2 cup sugar until fluffy.  Add salt and vanilla.  Add egg yolks (be sure to save the egg whites for later) to the sugar mixture; beat until creamy.  Set aside.
In another bowl, combine 1 1/2 cups flour and 1 tsp baking powder.  Add this to the butter and sugar mixture, alternating with milk (1/3 four, 1/2 milk, 1/3 flour, 1/2 milk, last third of flour.  Very stiff batter.)
In another bowl, coat blueberries with 1 tablespoon flour and add them to the batter. (Note - when I do this again, I'm changing this to the last addition - I squished many berries by adding them to such a dense batter - which is lightened in the next step with egg whites...it makes sense to me to add them at the end.  However, I followed recipe and added them at this point).
In a separate bowl, beat egg whites until soft peaks form.  Add 1/4 cup sugar, 1 tablespoon at a time, and beat until stiff peaks form.  Fold egg whites into batter.

Putting it into pan:
Pour 1/2 of the blueberry batter (or a little less) into a floured and greased pan.  Smooth it with a spatula.
Layer the filling over the batter - smooth it with a spatula.
Finish with the remainder of batter - carefully smoothing to the edge of the pan.  This will create a layer of "cheesecake" between the blueberry bread layers.
Pour glaze over top of UNBAKED loaf and place in preheated 350 degree oven for 55-60 minutes.
(As stated above, mine took longer to bake - a total of 1 hour 15 minutes and it was perfect)

I allowed the bread to cool 20 minutes in the pan on a rack.  I turned it out onto a tray and allowed it to firm up for another 15-20 minutes or so...then we couldn't wait any longer to try it. 

It was still crumbly (and firmed up much more within a few hours).  Very, very delicious!  We had large slabs with our coffee.  Not overly sweet but, a bit more cake-like than bread-like to me.  I just had another piece with coffee while I wrote this post.  Excellent the next day as well!!!

Bon Appetit, Y'all!!!

SHARED WITH:

Addicted to Recipes Button, Page button
StumbleUpon