The South Padre Island Flip Flop Foodie Brownsville restaurants

Search The South Padre Island Flip Flop Foodie Blog!

Friday, January 23, 2015

Is Blood Spatter Too Much? The CSI Cookie Project

I'm so excited to be participating in the 2015 version of Mystery Week at Paragraph's on South Padre Island.  This year they hosted book signings during the week and are culminating with a Meet the Mystery Authors discussion on Saturday from 1-4 p.m.

The grand finale of the day is a special event from 4-6:30.  We will be conducting an Investigation into Murder at the Crime Scene Investigators Convention... sort of a take-off on a mystery dinner.  Tickets have been on sale since the 14th and I imagine they are sold out...but you can call and check if you want to know.  Meeting our great mystery authors Pat McGrath Avery, Bob Doerr, Joyce Faulkner, and David Harry (Tannenbaum) is worth your time spent, whether you make it to the Murder Mystery or not.  They always make for an interesting discussion group!  I love it when they are all on the island together - something exciting always seems to happen!

I, of course, always need to bake cookies.  Griff and I talked and he suggested "CSI - type cookies".  Uh, OK, I can do that!

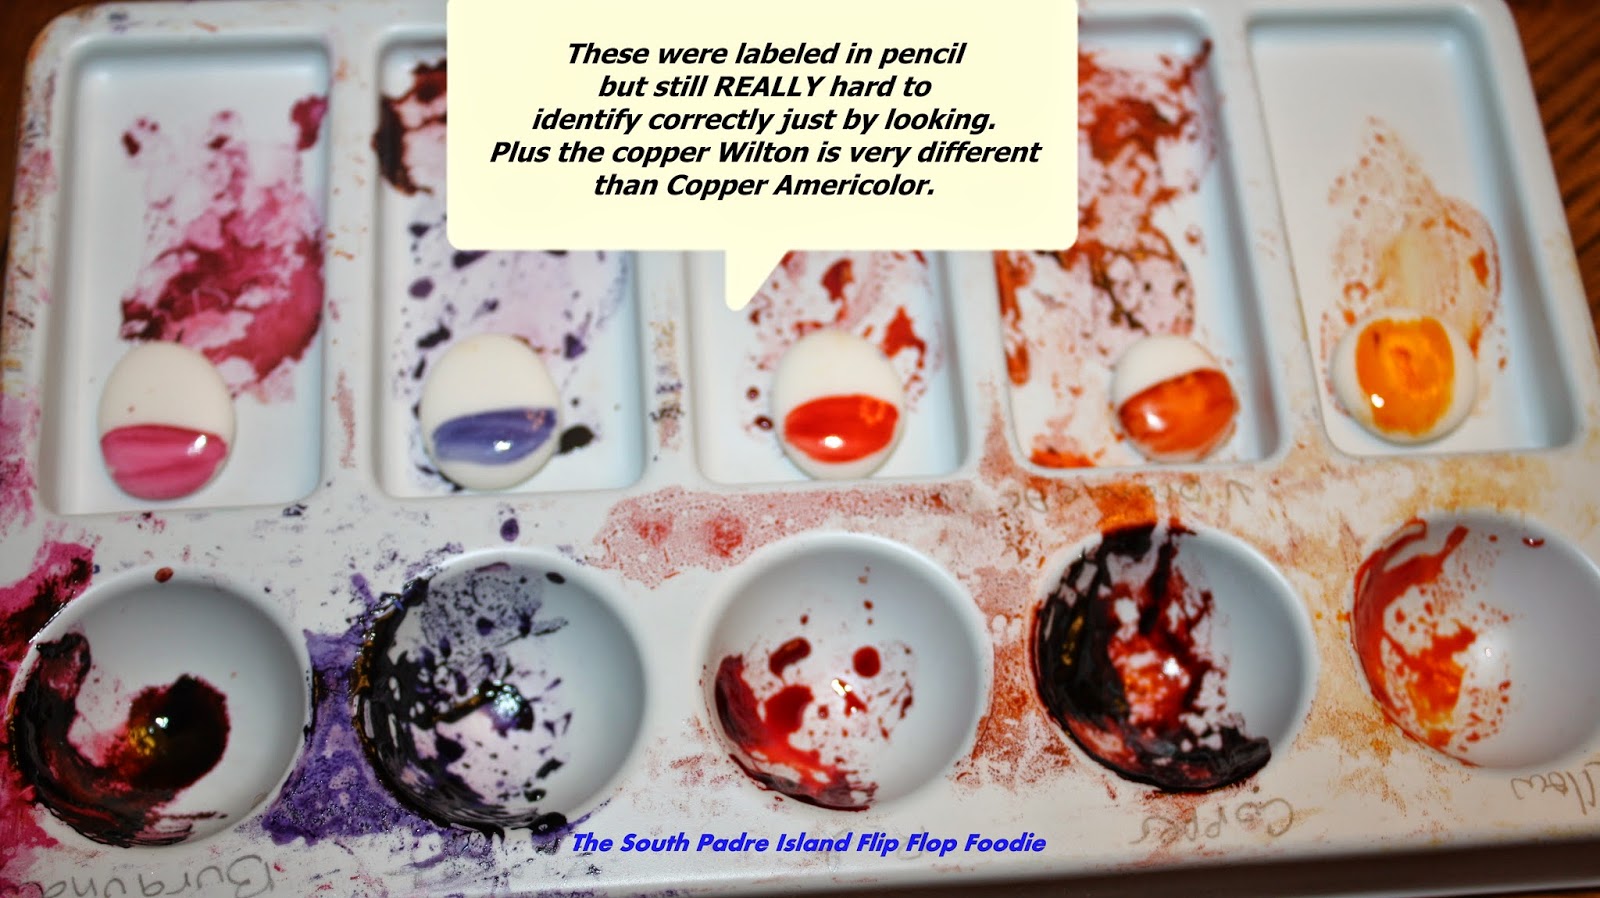
Admittedly, I had a load of fun stretching my wings a bit with this set of cookies.  I hand cut my own stencil so I could use their little "man with a magnifying glass" from the event flyer, I learned to make fingerprints on cookies, I used the white tissue paper transfer method I learned from various tutorials online, and I made blood splatter by flicking liquefied red petal dust off of a paintbrush onto base coated cookies (kind of creepy).

To begin with - the stencil making is not that easy by hand.  I bought stuff to do just that a couple of years ago and they just sat in my cookie supply closet staring at me.  It was so easy to order stencils on-line, once I found the vendors, that I really never had cause to consider such a thing as "DIY stencils" after that!  Self-healing cutting mat and a supply of sharp X-acto knives got me through the project.

All would have worked out better had I used my airbrush instead of being lazy and using canned spray.  I had a lot of under-spray as I couldn't "dial down" the pressure.  Lesson learned.


The fingerprints...I tried several different "ways" of doing it...the best results were yielded by coating my thumb/fore finger with corn syrup then dabbing it down to just a little stickiness.  Applied the finger in a rolling motion  (just like they used to do it at the DMV) to thoroughly dried royal icing and let it sit for a few minutes.  Using a dry paint brush and dry dark silver luster dust, I basically copied what you see on the CSI shows.  I lightly brushed the powder across the "prints". and viola!  Well, a bit shiny, but silver was all I had.  Not going on an expedition in search of black petal dust!

The DNA helix was easy, using white tissue paper over a printed picture.  I traced the outline with a food color pen and then placed it on the, again thoroughly dried royal icing, and re-traced with the food color pen.  It bled through, leaving lines for me to follow, and I just piped blue icing on top of the lines with a 1.5 PME tip.  Then, with a size 1 PME tip, I piped the little lines free-hand while looking a the picture.  I reallly liked how they turned out.

I had not used my food markers a great deal, but I must say I am very fond of the FooDoodler brand.  Good color and nice tips.  I used Wilton and AmeriColor brands as well...but, the FooDoodler reigned supreme.  Granted, I hear great things about the Rainbow Dust pens.  I ordered a black one to try out - but it is enroute from the U.K. so it will be a while before I get to try it out.

All in all, I had fun with this project.  Hopefully, the blood spatter, fingerprints, and EKG going flatline won't gross anyone out too badly.  (Mr. Flip Flop is a nurse and I made him explain how an EKG might look...although he said I didn't have enough room... I got the baseline, with Ps and Ts with the qRs in the middle, then V-tach, then flat line demonstrated.  More than I ever want to know - and still not likely all that accurate).

Hopefully, despite all the visual ick on top, the cookies will taste good.  I used my Vanilla Bean Sugar Cookie with minimal leavening so they'd be flat for the stencil and I used LilaLoa's Chocolate Cookie recipe.  I sampled one of each - they tasted quite delicious!

I really want to eat this one... kind of an all-in-one CSI cookie!

Black and White - mystery noir!

Bon Appetit, Y'all!!!


StumbleUpon

Saturday, January 10, 2015

Painting with Food Color - Trials and Tribulations


I've been trying for quite a while to paint on cookies successfully.  In my life, this is definitely one of those "baby steps" techniques.  I tend to look closely and see all the mistakes. I find the actual process of painting a true challenge; I don't grasp the basics of color blending to come up with the desired color (even with a color wheel - pathetic I know) and when it is where I think it will be - it dries and it just "isn't".  My brain doesn't translate perspective, and half the time I don't know what brush to use nor how to control it. My hands shake with nervousness.

(HUGE SIGH)

Piping bags, in comparison, are so much easier!  BUT, they don't allow you to do everything when decorating.  Some time a fine detail, a depth of color for definition, a gentle wash of color ...it requires painted or brushed or "blown" on color.  I find it so much easier to pull out some color and a brush than to drag out the air brush...but then...brush in hand, well, the doubts settle in.

Recently, I followed the painted leaf technique from McGoo U. Mine is not bad, but, again, not what I'd envisioned. I faithfully reviewed Arty McGoo's instructions for setting up a paint palette (after the fact obviously). In the past, I didn't pay adequate attention to LilaLoa's presentation on mastering "color" at CookieCon (I'm sorry, it was the last class of a very long day and my brain just couldn't grasp anything else...I sat there in a stupor...it's the class I needed first thing in the morning...I didn't even take notes).  I have looked at all the great cookie artists' work and I still ask myself "how did she do that?".  I have tried various "projects" over the past one and a half years and I still don't consider it one of my "cookie skills".
Many of the colors are a mystery on my palettes!
(Before I wondered "is there a better way")
"What would McGoo do?"  Well, it's not this!

Painting - it's been my curse since the childhood Summer art class at Hancock Recreation Center in Austin where I was so frustrated in my inability to paint tulips as a foreground, I let my friend Lisa finish my tulips and windmill picture and with a few blips and blobs, she took a crappy painting and made it beautiful.  I wanted to pull my hair...HOW???  HOW did she do that???  I identify that as the day I gave up on painting.  After class, we went out on the pathways and golf course and pretended to be horses running wild.  I feel I excelled at that event.  I felt all better and put painting failure straight out of my mind.  Oops, there I go. I digress as usual. Back to the future.

So, yesterday, I was staring at all the cookie painting supplies I had and wondering "what the heck is wrong with me?"; I thought about what my problems were.  I decided to be mentally organized and think through how to make this technique of painting on dry icing "better".  You can't make a person be gifted in art, but maybe I could figure out solutions to some of the problems which could lead to improved technique.  I certainly never dreamed I could make some of the cookies I am making these days... I am self taught and YouTube educated, so why not figure out how to solve the painting problems and change my attitude to "can do".

Problem #1:   My paint palettes, except for one project, were not organized in a way I could re-use them with any certainty.  What the heck are those colors?  Once you move them out of the bottle or jar and don't have a label for the color, well, you are just SOL!

Solution #1:  Quit driving yourself insane!  Wash all of those paint palettes and start from scratch.  Put less paste on the palette.  Label the palette or keep a cheat sheet of what's where.  Follow Obi Wan McGoo's instructions. (bowing before the master).

Action Required - Scrub, dry, and remove all color from palettes and then set them up properly.  Now, go do it NOW. (If too lazy, simply buy more - they are inexpensive at Michael's, unlike on Amazon)

Problem #2:  Colors painted on my icing either aren't the right color or they don't look right after drying (too light or too dark)  Anyone who uses gel food color or paste food color KNOWS that what is in the bottle or jar is often nothing like what it looks like in the icing or painted on the cookie!  You really can't even depend on the name!  I mean, copper is really flesh tone?  Really?

Solution #2:  I was making some little RI heart transfers when I had an epiphany.  Why not make little RI paint testers out of leftover icing?  I had some cut pieces of parchment paper leftover from a project so I piped a bunch of blobs onto the leftover  parchment and let them dry overnight.

Then, before I decided to clean the palettes (see Item 1) I tested my little "testers" by trying to figure out what some of the colors were.  Heavens to Mergatroid!  Is that yellow or orange?  Is that green or blue?  What the heck is that dark thing on there?  Turns out to be purple.


Testers...I think it's the answer.  Another way of doing this is to use the Karen's Cookies "Notta Cookie".  I covered a couple of those with white and it gave me much more room to test.

Action Required - Make big dots on parchment paper out of the last bits of white icing.  Make some larger blobs because the small ones are hard to hold and you paint your fingers sometimes.  Use these testers to let the painted food color dry and determine if it is the color you really want on your cookie.  Keep a stock of testers, all sizes, available at all times.   Keep a couple of Notta Cookies base coated and in a plastic bag for larger area testing.  Yes, that's the ticket! (note to self - order more Notta Cookies)

Problem #3:  I purchased fine tip, long brushes thinking they would offer better control.  Wrong.  They just sit there staring at me from the paint brush cup I use for cookie art.  They are glaring at me, I can feel it. How do non-artists know what "size" paint brush to get?  What do all those numbers mean?

Solution #3:  Should I trim them down?  I don't know!  I'm scared.  So what, I say to myself, what's the worst thing that could happen?  You have a paint brush that you don't use now that you can't use after the "hair cut".  I don't know!  I'm scared.

Action Required - Get over it Hook!  Get out those tiny little cuticle scissors that you use for trimming wafer paper and give the paint brush a hair cut.  No one will know but you and the paint brush if you screw it up.  Really, who will know?  Also, educate yourself.  Google the numbers...SURELY someone has written a Wiki about such things...or a YouTube video exists.  Do your homework lady! (Okay, voice in my head, quit nagging - I'll get right on that).

Well, my friends, if you've stuck with me, you are likely a Cookier (or maybe a family member who loves me despite my rants and silliness).  If you know anything I should know.  Please comment.  My comments are moderated because I've had a couple of inappropriate comments and mean comments so I choose what is posted.  If you aren't mean or trying to sell something via using my comment box, well, I'm sure you will see your comment published within the day :-)

Thanks for sticking with me!

Bon Appetit, Y'all!!!


StumbleUpon

Thursday, January 8, 2015

Sticky Asian Chicken Drummies


I bought chicken drummies to make New Year's Day...and didn't end up making anything snackish after all.  What to do, what to do with 4 pounds of winglets in my freezer?

I started searching online for recipes.  I didn't want to fry them (we, along with millions of other people are making the New Year attempt at eating healthier after the gluttony of the past two months).  I wanted it easy.  I needed to have all the ingredients on hand...is that too much to ask?

I couldn't get everything I asked for, but I did run across an interesting recipe called Slow Cooker Sticky Chicken Wings from a blog called Damn Delicious... and that sounded quite delicious to me!

I stuck close to the recipe at the link above, but due to my lack of Sriracha and the bottom bits of honey in the cabinet (most used up during our coughing extravaganza last two to three months between me and Mr. Flip Flop) I was forced to make a few adaptations.  I substituted Vietnamese Chili Garlic Sauce for the Sriracha (it sure gave it a nice kick) and I reduced the honey to about 3 Tbsp instead of 1/4 cup.  I also used dark brown sugar (which has more molasses in it so I figured the sweetness would be balanced despite the smaller amount of honey - and it was).  The blogger, Chungah, has the recipe on her site so I'll invite you to click on the link in the paragraph above for a printable recipe.  I didn't make enough changes to really call it my own at all!

It turned out delicious indeed.  I did, inadvertently, over-cook them, which resulted in some of them literally falling off the bone.  That was a bit of a bummer; but the flavor was truly wonderful!  Follow her times - her drummies looked better than my drummies!


I had no intention of blogging this post, but once I got it plated I thought I'd take a couple of photos.  It was not very bright in the kitchen so they aren't wonderful.  Nonetheless, it's a recipe worth sharing!  Just stick to the original recipe's cook time and you'll do better than me.  My flavor substitutions worked out fine.  I had the leftovers for lunch yesterday and it was great re-warmed ... just wished I'd saved a bit more of the sauce.  The rice sucked it all up on the leftovers.

I scooped up some of the sauce for dipping.  There is brown rice under
the drummies and steamed brocolli on the side.  A rather anemic
looking watermelon for dessert (it tasted good, but the color was too light).
A very satisfying meal!!!

It's cold right now and this seemed like a tasty treat for a cold day.  I'm sure you could use regular chicken drumsticks, whole wings, or even thighs.  I might have to try that.  The flavor was really outstanding!

If you try it, please leave a comment and let me know how it turned out for you.  Inquiring minds want to know!

Bon Appetit, Y'all!!!


StumbleUpon