The South Padre Island Flip Flop Foodie Brownsville restaurants

Search The South Padre Island Flip Flop Foodie Blog!

Showing posts with label pumpkin. Show all posts

Friday, February 22, 2013

Cinnamon Streusel Pumpkin Loaves

A travel breakfast...hmmmm.  I dug through my folder of recipes I had intended to try over the holidays before chaos erupted in my life.  I wanted something easy that would travel well...something to snack on or to have with coffee as we sat listening to waves rushing in and gulls calling.

As soon as my hand touched a print out for Cinnamon Streusel Pumpkin Bread from Michelle Day at Michelle's Tasty Creations blog, I just "knew" this would be perfect.  We have pleasant temperatures this week-end, but there is a call for being overcast and a light rain.  What is better than the warm taste of pumpkin and cinnamon and all of those warm spices on a lightly drizzly day?  Not much.

I made a few minor tweaks - but nothing major.  My addition is a vanilla bean cream cheese drizzle for a bit of extra topping (like streusel isn't enough) .  Everything is baking while I type... I'm departing in a few short hours.  My house is smelling really awesome about now!  I should probably sample it before taking it with me, right?

Here's the recipe:

CINNAMON STREUSEL PUMPKIN LOAVES
Lightly modified from the Michelle Day recipe


Ingredients:

1 1/2 cup unbleached all-purpose flour
3/4 cup granulated white sugar
1 1/2 tsp. baking powder
1/2 tsp. baking soda
1/4 tsp. salt
1 tsp. cinnamon
1/2 tsp. fresh grated nutmeg
1/4 tsp. ground ginger
1/4 tsp. ground cloves
1/4 cup vegetable oil
1 cup pumpkin puree
2 large eggs
1 1/2 tsp. pure vanilla extract

Streusel Topping:

1/2 cup unbleached AP flour
1/2 cup turbinado sugar
1 tsp. cinnamon
1/4 cup butter, cold and cut into 1/2 inch pieces

Vanilla Bean Cream Cheese Drizzle:

4 ounces cream cheese, room temperature
4 ounces butter, room temperature
1 tsp. vanilla bean paste
1-2 tsp. milk - more if needed

Method:

Preheat oven to 350 degrees.
Spray three mini loaf pans with cooking spray and set aside.

In a large 4 cup measuring cup, add 1 1/2 cups flour, baking powder, baking soda, salt, cinnamon, nutmeg, ginger, and cloves.  Whisk together until well blended.  Set aside.

In bowl of a stand mixer, beat the eggs, 3/4 cup sugar, oil, pumpkin, and vanilla extract until smooth.  Pour the flour mixture into the bowl and beat until smooth (on low) then evenly distribute the batter between the three pans.


For the Streusel Topping:
Mix the flour, sugar, and cinnamon with a fork in a medium bowl.  Add the butter and using a fork, pastry blender, or your fingers, crumble the butter into the sugar mixture until you have a crumble mixture.


Divide evenly over the three pans of pumpkin bread dough.


Bake for 40-45 minutes (or until a toothpick inserted into the center comes out clean).  Allow to cool in pans for a few minutes then remove to a cooling rack.

Vanilla Bean Cream Cheese Drizzle

In small bowl of food processor, pulse 1/4 cup softened butter, 4 ounces of softened cream cheese, and 1 tsp. vanilla bean paste until smooth. 

Add enough powdered sugar to make the consistency of a thick icing. Add milk, 1/2 tsp. at a time, pulsing after each addition until it's just the consistency you desire for drizzling.  I like mine a little thick.


When pumpkin bread is completely cooled, drizzle VBCC Drizzle over each loaf.  If you are eating it warm, drizzle over each slice after plating.

I sampled a slice with a glass of milk because I'd finished all the coffee for the morning....boy howdy, that is so yummy!  I love the crunch of the streusel hidden under the creamy tartness of the drizzle...all on top of the wonderfully aromatic pumpkin loaf.  Two thumbs up...and it was an easy preparation, so even better!

Bon Appetit, Y'all!!!StumbleUpon

Saturday, October 20, 2012

Pumpkin Spice Madeleines

Pumpkin Spice Madeleines
As I have written before, I do have an addiction to those luscious shell-shaped sponge tea cakes known as Madeleines.  I have never strayed far from the David Lebovitz recipe that has always worked so well for me.  However, sometimes you just have to take a walk on the wild side and hope it works!  Here are links for the Lemon-Glazed Madeleines and the Vanilla Bean Madeleines I have made in the past....just in case you want to check them out.

I looked at a lot of blog posts and online recipes, trying to find a recipe very close to Chef Lebovitz's, with the addition of some Autumnal spices...and I was focused on adding pumpkin.  Not much luck.  There were several out there...some with pumpkin, some with just the spices.  None of the recipes were very close though.  So, I got brave and just decided to experiment.  Flop or fabulous?  It's never really wise to mess with a classic recipe...especially when you are hoping to take the goodies to a special occasion (going to take some to author William J. Cobb's The Bird Saviors book signing at Paragraph's on Padre Blvd).  Mehh, I'm doing it anyway....and here's how I did it.

Pumpkin Spice Madeleines
Based on Recipe from David Lebovitz
Makes 24 Madeleines

Ingredients:

3 large eggs, at room temperature (important to be at room temp)
2/3 cup (130g) granulated sugar
rounded 1/8 teaspoon salt
1 1/4 cup (175g) flour
1 teaspoon baking powder
1 teaspoon ground cinnamon
1/4 teaspoon freshly grated nutmeg
1/8 teaspoon ground cloves
1/8 teaspoon ground ginger
9 tablespoons (120g) unsalted butter, melted and cooled to room temperature, plus additional melted butter for preparing the molds
1 teaspoon pure vanilla bean paste
1/4 cup pumpkin puree (I used canned pumpkin)


Glaze:
(this is double the original recipe)
1 1/2 cup (300g) powdered sugar, sifted
1 1/2 tablespoon vanilla bean paste
4-5 tablespoons water (you judge the thickness you like)

Method:

1. Brush the indentations of a Madeleine mold with melted butter. Dust with flour, tap off any excess, and place in the fridge or freezer. (I use a non-stick pan, so I wipe with softened butter instead, using a paper towel...I have found the melted butter pools in the bottom of the non-stick pan causing flour to clump and uneven browning...lesson learned)

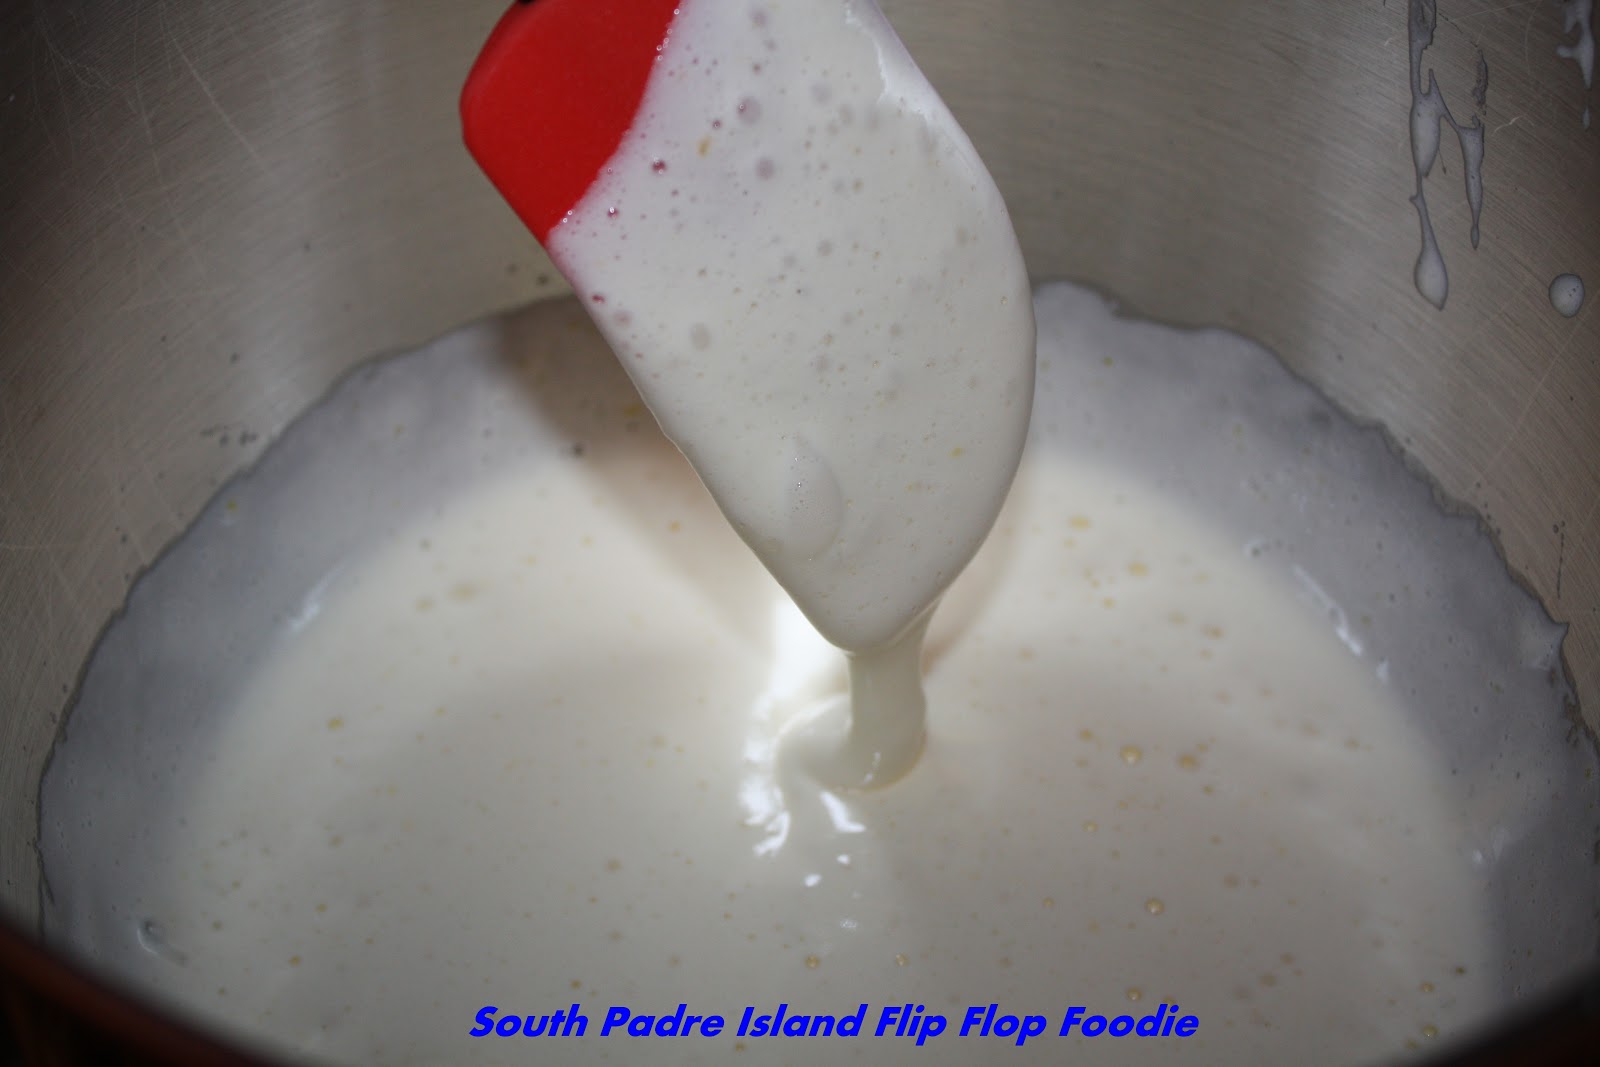
2. In the bowl of a standing electric mixer, whip the eggs, granulated sugar, and salt for 5 minutes until frothy and thickened. (it routinely takes me 7 minutes to get to a ribbon stage)

3. Whisk together the flour, baking powder, and dry spices.  Spoon the flour mixture into a sifter or mesh strainer and use a spatula to fold in the flour as you sift it over the batter. (Rest the bowl on a damp towel to help steady it for you.)  Remember to fold gently - you want to keep the air incorporated into the mixture for a light sponge.

4. Add the vanilla bean paste and pumpkin puree to the almost cooled butter and whisk until completely smoothed out (and allow it to cool all the way).  Dribble the butter mixture into the batter, a few spoonfuls at a time, while simultaneously folding to incorporate the butter. Fold just until all the butter is incorporated.  Again, being cautious to fold gently to maintain incorporated air.
I prefer making the pumpkin butter before you need it

Gentle folding is integral

5. Cover the bowl and refrigerate for at least 1 hour. (Batter can be chilled for up to 12 hours)

6. To bake the Madeleines, preheat the oven to 425 degrees.

7. Plop enough batter in the center of each indentation sufficient to fill it by 3/4's (you'll have to eyeball it, but it's not exact science, don't worry if it's not perfect - mine are never all the same size) Do not spread the batter - let it stay the way it lands.**(See note below)
This is the second batch

8. Bake for 8-9 minutes or until the cakes just feel set when pressed gently with your finger. (These took exactly 8 minutes in my oven)

9. While the cakes are baking, make a glaze in a small mixing bowl by stirring together the sifted powdered sugar, vanilla bean paste, and water until smooth.  Use a bowl suitable for dipping the Madeleines.
I like a thicker glaze so I doubled the original recipe amount.
I ended up with leftovers this time...oh well, rather too
much than not enough!

10. Remove from the oven and tilt the Madeleines out onto a cooling rack.

The moment they're cool enough to handle, dip each cake in the glaze, turning them over to make sure both sides are coated and scrape off any excess with a dull knife (or the side of the bowl)  After dipping, rest each one back on a cooling rack, scalloped side up, until the cakes are cool and the glaze has firmed up. (Put a baking sheet under your cooling rack to catch any stray drips). 

Storage: glazed Madeleines are best left uncovered, or not tightly-wrapped; they're best eaten the day they're made. They can be kept in a container for up to three days after baking, if necessary. Freezing a glazed Madeleine doesn't really work - the glaze melts.

Have I mentioned how much I adore Madeleines?  To me, they are the ultimate bite-sized treat (okay, 3 bites).  A happy middle ground between a cookie and a cupcake; glazed not frosted.  They are, in my humble opinion, one of the absolute best treats you can have with a cup of good coffee or hot tea.  I will admit, also, that I love the traditional lemon-glazed the best.  I'm a lemon lover.  The rest of my household, not so much.  Thus, the "always thinking about it" search for different ways to make a favorite treat and make it family-friendly.  I think they are going to love the Pumpkin Spice Madeleines.  They are really tasty and the recipe tweaking worked out mostly okay.

What's different?  Well, they are much more dense, although still spongy.  They only vaguely taste of pumpkin because there was not much in it.  The spices are just right in my opinion, but it could handle a touch more to enhance the pumpkin pie flavor I was going for.  The mixing of the pumpkin and butter is, I believe, the reason they did not spread as much as usual.  **They didn't make it to the top or bottom of the mold shape.  They puffed up more than usual...they are supposed to have a "bump" - but these were completely round on the bottom.  Probably the mixing of the pumpkin butter instead of straight up melted butter is again the blame...I believe anyway.  The batter was "tighter" than usual - again the density result of adding pumpkin?  More "air holes" in the Madeleines as well.  I even tried give the pan a good bang after filling the second pan - but that did nothing - in fact there were more air holes in the second batch than the first.  I tried to fill the holes with glaze with my fingers...that didn't particularly work.  If I make them again, I am going to try skipping the pumpkin to keep the texture more true to traditional...and maybe bump up the spices a tad.  I like the little bump on traditional Madeleines and that was totally missing on these...a fully rounded bottom instead.

Still, the shape looks okay because it had all the mandatory scallops.  They taste delicious and pretty much how I imagined.  I give them a thumbs up for a nice Fall version of a traditional French cakelet.  I suspect purists would NOT agree.  I've never claimed to be pure, now have I? (batting my eyes)

Bon Appetit, Y'all!!!

Shared With:

Ali Bee's Bake Shop Pumpkin Linky Party

Sweet Treats and Swanky Stuff Linky Party

FriDays Made Sweet

Chef In Training

 
HungryLittleGirl
 
 
StumbleUpon

Sunday, October 17, 2010

Squash Sugar Cookies...Really!

My friend KM brought back some ginormous acorn squash from her Fall wanderings to the hinterland (OK, maybe not hinterland - up in Minnesota or Wisconsin or one of those chilly states)...she described them as Dolly Parton boob-sized squash.  She wasn't joking!  These are no b-cup size squash. 

So, I have never used squash this big - I'm used to little acorn squash...and I knew the teen wouldn't eat any and my hubby won't be back home for a bit - so I decided I would roast them and use my handy dandy Food Saver to package smaller packets of squash for baking and soup and other yummy things.  I washed them and vented them by stabbing them with a sharp knife and roasted them at 350 for 90 minutes...whole, on a cookie sheet with a silpat on it.  My house smelled like Thanksgiving.  That's a really happy smell!  After they cooled down I sliced the top off and cut them lengthwise, scooped the seeds and stringy stuff out, then scooped the good stuff out, mashed it and packaged in 1 and 2 cup sizes.  I got about 8 cups.  Popped it in the freezer - ready for future goodness.

I started Googling some recipes for pumpkin and squash and found lots of ideas - but I found one that sounded particularly perfect because I was in the mood to make some Halloween themed cookies.  The Recipe is Pumpkin Sugar Cookie presented by The Washington School Inn - and I found it on a bed and breakfast online recipe sharing site.  B&B food is generally pretty yummy so I hoped, substituting the squash would work...and yum, it did!

Here's a link to the original recipe and below is my version.

Acorn Squash Sugar Cookies

3/4 cup softened butter (1 1/2 sticks)
1 cup white granulated sugar
1/2 cup roasted acorn squash pulp - squeezed very dry*
1 egg
1/2 teaspoon pure vanilla extract
1 teaspoon cinnamon
1/2 teaspoon freshly grated nutmeg
1/2 teaspoon ground allspice
3 cups unbleached flour
1 teaspoon baking powder
1/2 teaspoon fine salt

Cream butter and sugar in stand mixer until light and fluffy.
Add squeezed-dry squash (*I let mine drain over paper towels in a colander - then replaced the paper towels and squished them until it was as dry as possible) and egg.
Add vanilla, and spices.
Mix flour, baking powder and salt together, then add gradually to mixer bowl to form a stiff dough.
Chill for at least one hour.
Preheat oven to 375 degrees.
Roll out dough with some bench flour mixed with a bit of sifted confectioner's sugar (a great trick for not making your cut sugar cookies taste floury - they taste sweet inside and out) and cut with your favorite shaped cookie cutters (or just do round if you want to make it easy on yourself).
Bake on a silpat covered cookie sheet 7-8 minutes.  Makes approximately 2 dozen cookies.

Unbaked Ghosts
Baked Pumpkins (not much color change)


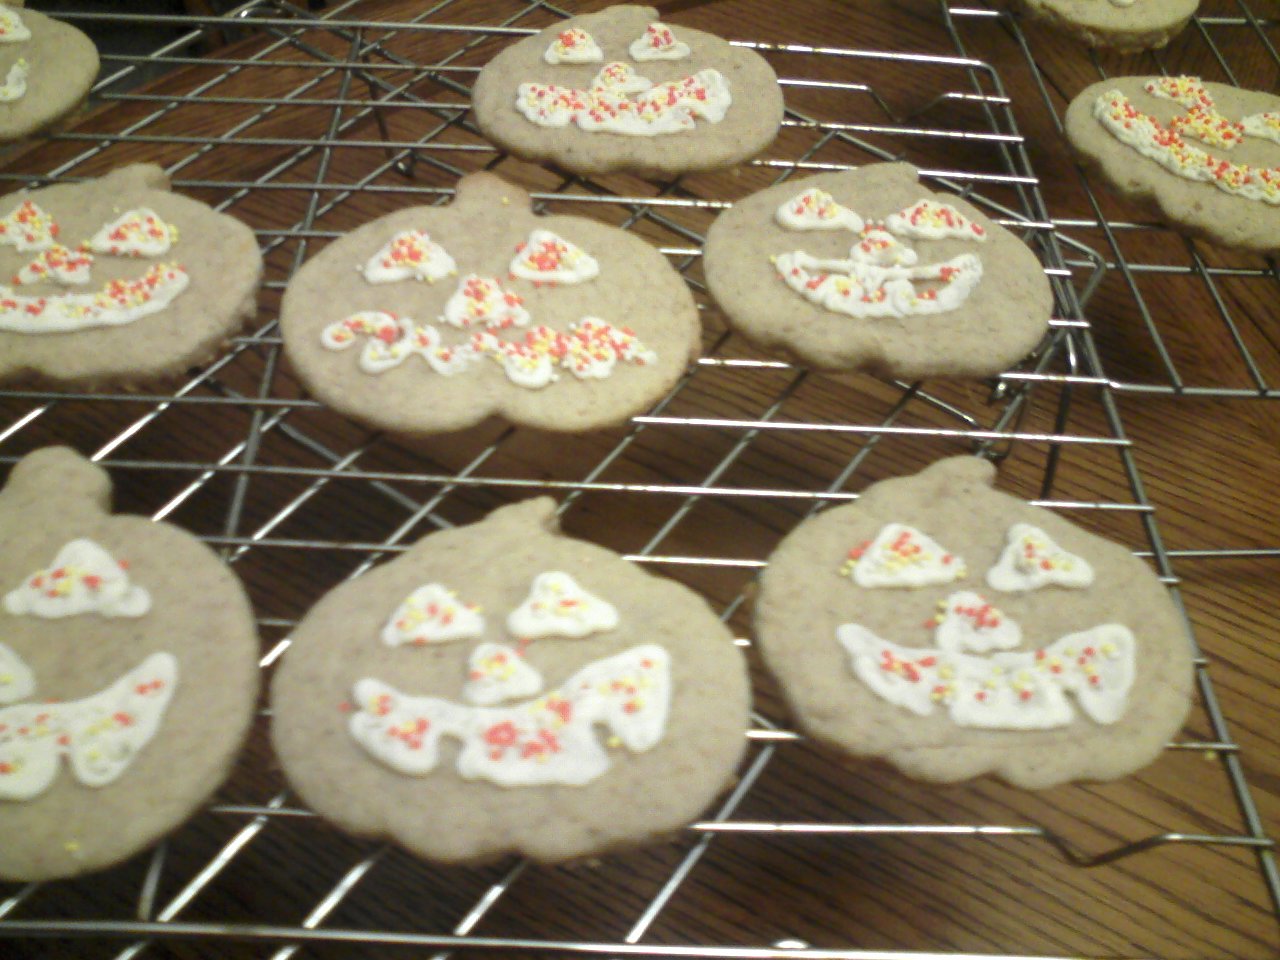
I decorated with a stiff cream cheese frosting so I could pipe the designs I wanted on the pumpkins and sprinkle some sprinkles on them for the eyes, nose, and mouth (sprinkle quickly - the frosting dried faster than I expected)... and I just wanted to frost the ghosts and make eyes with a couple of those "currants", I brought home from Central Market in Austin, and a little piece of chocolate that I cut out with the bottom of a metal decorating tip and pushed out with a toothpick for a woooooo mouth.  You could easily make a basic powdered sugar and milk frosting (as the original recipe called for).  I would also love to use a nice royal icing if I wanted the icing to harden and hold the design.  Royal icing is challenging down here at the coast - royal icing and humidity are not friends :-)  I found that out the hard way last Christmas!

Frankly, the teen and I tasted a cookie unfrosted after a brief cool down.  They were great with NOTHING on them.  They are a delicious cookie (can they count as a vegetable???) and I would recommend them highly for an addition to your Fall cookie repertoire!


Bon Appetit, Y'all!!!

SHARED WITH:

Everyday Sisters Sharing Sundays #15

PhotobucketStumbleUpon