The South Padre Island Flip Flop Foodie Brownsville restaurants

Search The South Padre Island Flip Flop Foodie Blog!

Showing posts with label French. Show all posts

Saturday, October 20, 2012

Pumpkin Spice Madeleines

Pumpkin Spice Madeleines
As I have written before, I do have an addiction to those luscious shell-shaped sponge tea cakes known as Madeleines.  I have never strayed far from the David Lebovitz recipe that has always worked so well for me.  However, sometimes you just have to take a walk on the wild side and hope it works!  Here are links for the Lemon-Glazed Madeleines and the Vanilla Bean Madeleines I have made in the past....just in case you want to check them out.

I looked at a lot of blog posts and online recipes, trying to find a recipe very close to Chef Lebovitz's, with the addition of some Autumnal spices...and I was focused on adding pumpkin.  Not much luck.  There were several out there...some with pumpkin, some with just the spices.  None of the recipes were very close though.  So, I got brave and just decided to experiment.  Flop or fabulous?  It's never really wise to mess with a classic recipe...especially when you are hoping to take the goodies to a special occasion (going to take some to author William J. Cobb's The Bird Saviors book signing at Paragraph's on Padre Blvd).  Mehh, I'm doing it anyway....and here's how I did it.

Pumpkin Spice Madeleines
Based on Recipe from David Lebovitz
Makes 24 Madeleines

Ingredients:

3 large eggs, at room temperature (important to be at room temp)
2/3 cup (130g) granulated sugar
rounded 1/8 teaspoon salt
1 1/4 cup (175g) flour
1 teaspoon baking powder
1 teaspoon ground cinnamon
1/4 teaspoon freshly grated nutmeg
1/8 teaspoon ground cloves
1/8 teaspoon ground ginger
9 tablespoons (120g) unsalted butter, melted and cooled to room temperature, plus additional melted butter for preparing the molds
1 teaspoon pure vanilla bean paste
1/4 cup pumpkin puree (I used canned pumpkin)


Glaze:
(this is double the original recipe)
1 1/2 cup (300g) powdered sugar, sifted
1 1/2 tablespoon vanilla bean paste
4-5 tablespoons water (you judge the thickness you like)

Method:

1. Brush the indentations of a Madeleine mold with melted butter. Dust with flour, tap off any excess, and place in the fridge or freezer. (I use a non-stick pan, so I wipe with softened butter instead, using a paper towel...I have found the melted butter pools in the bottom of the non-stick pan causing flour to clump and uneven browning...lesson learned)

2. In the bowl of a standing electric mixer, whip the eggs, granulated sugar, and salt for 5 minutes until frothy and thickened. (it routinely takes me 7 minutes to get to a ribbon stage)
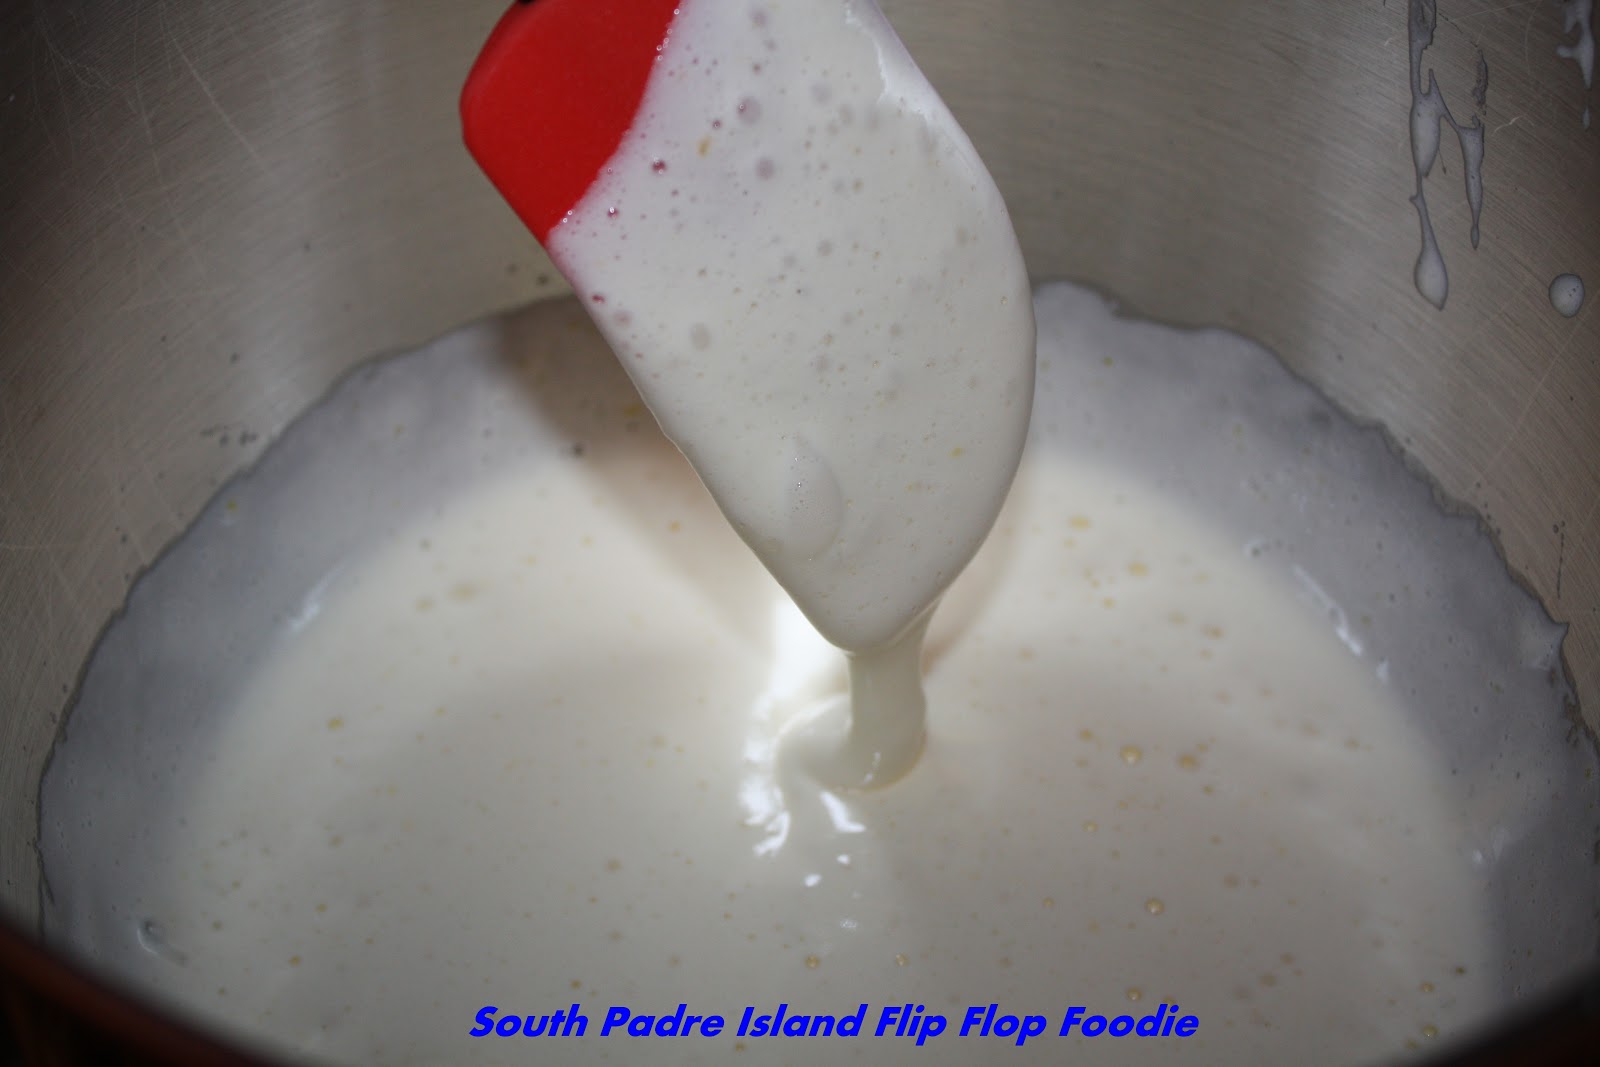
3. Whisk together the flour, baking powder, and dry spices.  Spoon the flour mixture into a sifter or mesh strainer and use a spatula to fold in the flour as you sift it over the batter. (Rest the bowl on a damp towel to help steady it for you.)  Remember to fold gently - you want to keep the air incorporated into the mixture for a light sponge.

4. Add the vanilla bean paste and pumpkin puree to the almost cooled butter and whisk until completely smoothed out (and allow it to cool all the way).  Dribble the butter mixture into the batter, a few spoonfuls at a time, while simultaneously folding to incorporate the butter. Fold just until all the butter is incorporated.  Again, being cautious to fold gently to maintain incorporated air.
I prefer making the pumpkin butter before you need it

Gentle folding is integral

5. Cover the bowl and refrigerate for at least 1 hour. (Batter can be chilled for up to 12 hours)

6. To bake the Madeleines, preheat the oven to 425 degrees.

7. Plop enough batter in the center of each indentation sufficient to fill it by 3/4's (you'll have to eyeball it, but it's not exact science, don't worry if it's not perfect - mine are never all the same size) Do not spread the batter - let it stay the way it lands.**(See note below)
This is the second batch

8. Bake for 8-9 minutes or until the cakes just feel set when pressed gently with your finger. (These took exactly 8 minutes in my oven)

9. While the cakes are baking, make a glaze in a small mixing bowl by stirring together the sifted powdered sugar, vanilla bean paste, and water until smooth.  Use a bowl suitable for dipping the Madeleines.
I like a thicker glaze so I doubled the original recipe amount.
I ended up with leftovers this time...oh well, rather too
much than not enough!

10. Remove from the oven and tilt the Madeleines out onto a cooling rack.

The moment they're cool enough to handle, dip each cake in the glaze, turning them over to make sure both sides are coated and scrape off any excess with a dull knife (or the side of the bowl)  After dipping, rest each one back on a cooling rack, scalloped side up, until the cakes are cool and the glaze has firmed up. (Put a baking sheet under your cooling rack to catch any stray drips). 

Storage: glazed Madeleines are best left uncovered, or not tightly-wrapped; they're best eaten the day they're made. They can be kept in a container for up to three days after baking, if necessary. Freezing a glazed Madeleine doesn't really work - the glaze melts.

Have I mentioned how much I adore Madeleines?  To me, they are the ultimate bite-sized treat (okay, 3 bites).  A happy middle ground between a cookie and a cupcake; glazed not frosted.  They are, in my humble opinion, one of the absolute best treats you can have with a cup of good coffee or hot tea.  I will admit, also, that I love the traditional lemon-glazed the best.  I'm a lemon lover.  The rest of my household, not so much.  Thus, the "always thinking about it" search for different ways to make a favorite treat and make it family-friendly.  I think they are going to love the Pumpkin Spice Madeleines.  They are really tasty and the recipe tweaking worked out mostly okay.

What's different?  Well, they are much more dense, although still spongy.  They only vaguely taste of pumpkin because there was not much in it.  The spices are just right in my opinion, but it could handle a touch more to enhance the pumpkin pie flavor I was going for.  The mixing of the pumpkin and butter is, I believe, the reason they did not spread as much as usual.  **They didn't make it to the top or bottom of the mold shape.  They puffed up more than usual...they are supposed to have a "bump" - but these were completely round on the bottom.  Probably the mixing of the pumpkin butter instead of straight up melted butter is again the blame...I believe anyway.  The batter was "tighter" than usual - again the density result of adding pumpkin?  More "air holes" in the Madeleines as well.  I even tried give the pan a good bang after filling the second pan - but that did nothing - in fact there were more air holes in the second batch than the first.  I tried to fill the holes with glaze with my fingers...that didn't particularly work.  If I make them again, I am going to try skipping the pumpkin to keep the texture more true to traditional...and maybe bump up the spices a tad.  I like the little bump on traditional Madeleines and that was totally missing on these...a fully rounded bottom instead.

Still, the shape looks okay because it had all the mandatory scallops.  They taste delicious and pretty much how I imagined.  I give them a thumbs up for a nice Fall version of a traditional French cakelet.  I suspect purists would NOT agree.  I've never claimed to be pure, now have I? (batting my eyes)

Bon Appetit, Y'all!!!

Shared With:

Ali Bee's Bake Shop Pumpkin Linky Party

Sweet Treats and Swanky Stuff Linky Party

FriDays Made Sweet

Chef In Training

 
HungryLittleGirl
 
 
StumbleUpon

Wednesday, January 26, 2011

Lemon-Glazed Madeleines

There is no pastry I like better than a lemon glazed madeleine...they are just...indescribable.  I could try, I suppose...spongy, buttery, intensely flavorful, melt-in-your-mouth freaking delicious!  I could go on and on.  But I won't. 

I used to buy madeleines at a little place in Austin (and 60 other locations nationwide), La Madeleine Country French Cafe, which was right around the corner from my office.  They make fabulous omelets, excellent Croque Monsieur, awesome tomato basil soup as well as tasty French Onion soup....and lemon madeleines to DIE FOR!  I miss being near them.  I could make a long list of the delectable pastries in their case...but I'm likely to cry for wanting them...so I'll just stick to talking about madeleines in general...since that is what the blog is about.  Madeleines....yum.

My middle son gave me a madeleine pan for Christmas.  It was on my Amazon wish list for nearly a year!  I no longer have any excuse not to learn to make them.  The only down side is...it is one pan...which makes 12, and most recipes are for 24.  I think that is going to be okay though, because my chosen recipe says you really must let the batter rest in the fridge (so that means you can split the batch to bake off on separate days I presume) and you really should eat the madeleines you bake on the same day you bake them.  My neighbors will be happy if the teen doesn't like them ;-p

I looked at many of my favorite baking web sites for recipes...and I settled on trying the one I found on David Lebovitz's web site.  I liked the way he talked about them and the detailed instructions...I'm not going to quote all of his info here...it was nearly 5 pages of printed material, including the recipe...but I will share his recipe and my thoughts on the process.  Take a look at his website though, it is worth reading about his take on Madeleines...and his writing is quite entertaining.

My son (the middle child) in Austin indicated his friend might appreciate some Madeleines if I was coming that way...but he thought she liked vanilla Madeleines.  I have yet to find a recipe that doesn't include lemon zest...but I guess I could I could do some subbing of vanilla for the zest...hmmm, we'll see about that.  For today, however, it is on to the lemon recipe!

LEMON-GLAZED MADELEINE RECIPE
Courtesy of David Lebovitz

Ingredients:

3 large eggs, at room temperature
2/3 cup (130g) granulated sugar
rounded 1/8 teaspoon salt
1 1/4 cup (175g) flour
1 teaspoon baking powder (optional - and if you do use it increase the baking time by another minute or so because the batter will rise higher.  They are done when the cakes feel just set if you poke them with your finger...according to David)
Zest of one small lemon
9 tablespoons (120g) unsalted butter, melted and cooled to room temperature, plus additional melted butter for preparing the molds

3/4 cup (150g) powdered sugar
1 tablespoon freshly-squeezed lemon juice
2 tablespoons water

Method:

1.  Brush the indentations of a madeleine mold with melted butter.  Dust with flour, tap off any excess, and place in the fridge or freezer.


It's hard to get the butter not to pool in a non-stick pan -
hopefully this works okay - putting into freezer

2.  In the bowl of a standing electric mixer, whip the eggs, granulated sugar, and salt for 5 minutes until frothy and thickened. (it took me 7 minutes to get to a ribbon stage)

After 7 minutes of whisking - light yellow, fluffy, ribbonning into bowl

3.  Spoon the flour and baking powder (if using) into a sifter or mesh strainer and use a spatula to fold in the flour as you sift it over the batter. (Rest the bowl on a damp towel to help steady it for you.)

4.  Add the lemon zest to the cooled butter, then dribble the butter into the batter, a few spoonfuls at a time, while simultaneously folding to incorporate the butter.  Fold just until all the butter is incorporated.

5.  Cover the bowl and refrigerate for at least 1 hour. (Batter can be chilled for up to 12 hours)

6.  To bake the madeleines, preheat the oven to 425 degrees.

7.  (David listed this as number 8...I'm presuming it was a typo, not a missed step :-)

8.  Plop enough batter in the center of each indentation with enough batter which you think will fill it by 3/4's (you'll have to eyeball it, but it's not brain-surgery so don't worry if you're not exact)  Do not spread it. 

9.  OK - maybe this is a test - because there is no #9 in the recipe...it just moves straight to 10.

10. Bake for 8-9 minutes or until the cakes just feel set.  While the cakes are baking, make a glaze in a small mixing bowl by stirring together the powdered sugar, lemon juice, and water until smooth.

11. Remove from the oven and tilt the madeleines out onto a cooling rack.  The moment they're cool enough to handle, dip each cake in the glaze, turning them over to make sure both sides are coated and scrape off any excess with a dull knife.  After dipping, rest each one back on the cooking rack, scalloped side up, until the cakes are cool and the glaze has firmed up. (Note - I used all of the glaze on the first batch...had to make a second batch of glaze for the last 12.  I also, on the second batch, used 2 tbsp lemon juice and just 1 teaspoon of water...the first glaze was really thin and I liked the second, more lemony glaze that had a bit more body...and actually looks more like Chef Lebovitz's pictures of the finished product when dried - may be the humidity here at the coast)

Storage:  glazed madeleines are best left uncovered, or not tightly-wrapped; they're best eaten the day they're made.  They can be kept in a container for up to three days after baking, if necessary.  I don't recommend freezing them since the glaze will melt.

This is not as complex as it sounds - the key is getting the sugar and eggs really fluffy (it took mine over 5 minutes to get to a ribbon state).  Secondly, not deflating all that whisk work ... gentle folding of the other ingredients are a must.  I've not seen other recipes call for the chill and the resting...so I don't know how important that is... but I needed a break, so letting it chill was good for me!


Batter in mold - hard to judge!

Judging the amount to go in the pan...hmmm... I just decided to use my small cookie scoop and put a generous scoop into each mold...and cross my fingers.  I started second guessing myself because some looked smaller and some looked more filled (but of course, I know I scooped the same amount)...but I added a little bit to the scrawnier looking molds...and, of course, those are the ones that puffed up the biggest!

Not as pretty as I'd hoped for :-(
I did use double acting baking powder...so I planned on letting them cook 10 minutes - but they were ready at 8 minutes...actually were more browned than I desired on the bottom.  I cooked them in the upper portion of the oven as suggested...but you can see the stripes where the butter in the molds pooled caused there to be uneven cooking.  I don't know what to do...but I only baked half of the recipe.  I'll have to see how the other half works...


Th
This first batch were glazed and eaten warm

These things are really incredible tasting...maybe not bakery-pretty...but they tasted darn good.  Madeleines are tops in my book.  Maybe the only thing in a tight run for the money would be a well-made Napoleon.  I think the French have this pastry business fairly secured!  Now, I feel the challenge to make them "just right"...so I'll keep on trying!

Time for the 2nd batch...I'm going to take a risk and wash my pan, freeze it, and not re-butter and flour.  I'm praying "non stick pan" means just that.  If I'm wrong...we'll, I'll probably come back over here, high-lite this paragraph and hit the delete key :-)  So, if you are reading this...I guess they turned out okay!


Ta Da!!!  Yay - the pretty ones :-)

Whew - I'm so glad I tried the no butter and no flour deal on the 2nd batch...they are actually better tasting and prettier...the first batch wasn't as spongy as the second batch - like it had too much butter!  I'm thrilled to my toes (and filled to my toes too!) - the only thing I'm not happy about...is our high humidity level today.  I doubt my glaze is going to harden.  But that's part of living at the coast - not much to be done about high humidity.  I risk sounding redundant...but I have to just say...one more time...AWESOME tasting!

Bon Appetit, Y'all!!! 
StumbleUpon