The South Padre Island Flip Flop Foodie Brownsville restaurants

Search The South Padre Island Flip Flop Foodie Blog!

Showing posts with label Valentine's Day cookies. Show all posts

Friday, February 13, 2015

The Valentine Cookie Parade 2015!


Well, it's time!  I finally finished all the cookies I'm gonna finish.  I always end up with unfinished cookies, because I run out of time...once again, that is the case!  Oh well.  I don't care, I just do what I can do.  I'm sure Mr. Flip Flop will eat the "nekkid" ones!

I have been cleaning piping tips, couplers, ties, and all the "stuff" I use...refiling stencils, replacing everything in my cookie armoire where it belongs.  The clutter overtakes my dining area for about 10 days while I bake and decorate in waves before a holiday.


Whew, glad to be done with it for a few days.

Next I start on the donation for the KOA Care Camp auction.  That gives me a week-end reprieve.  Then I'm back to mixing, rolling, cutting, baking, cooling, icing, drying, decorating, drying, and decorating some more!  I only do it because I love to do it.  It's my favorite hobby.  I still get asked "how can I order your cookies" and I have to keep saying "I don't sell my cookies".  I like the freedom to create what I want to create and not what people want me to create.  The few times I've done it, I was a stressed out mess.  Maybe some day - but I'd really rather teach someone to do it themselves than to take orders and pump out cookies looking the same, one after another.  Not my thing!

I had fun stretching my wings this Valentine's with some new cookie cutters.  I bought a few from Whisked Away Cutters (on Etsy) and used the tiny owl cutter to make an owl like Sweet Sugarbelle demonstrated on her web site.  They were one of my favorites this year.

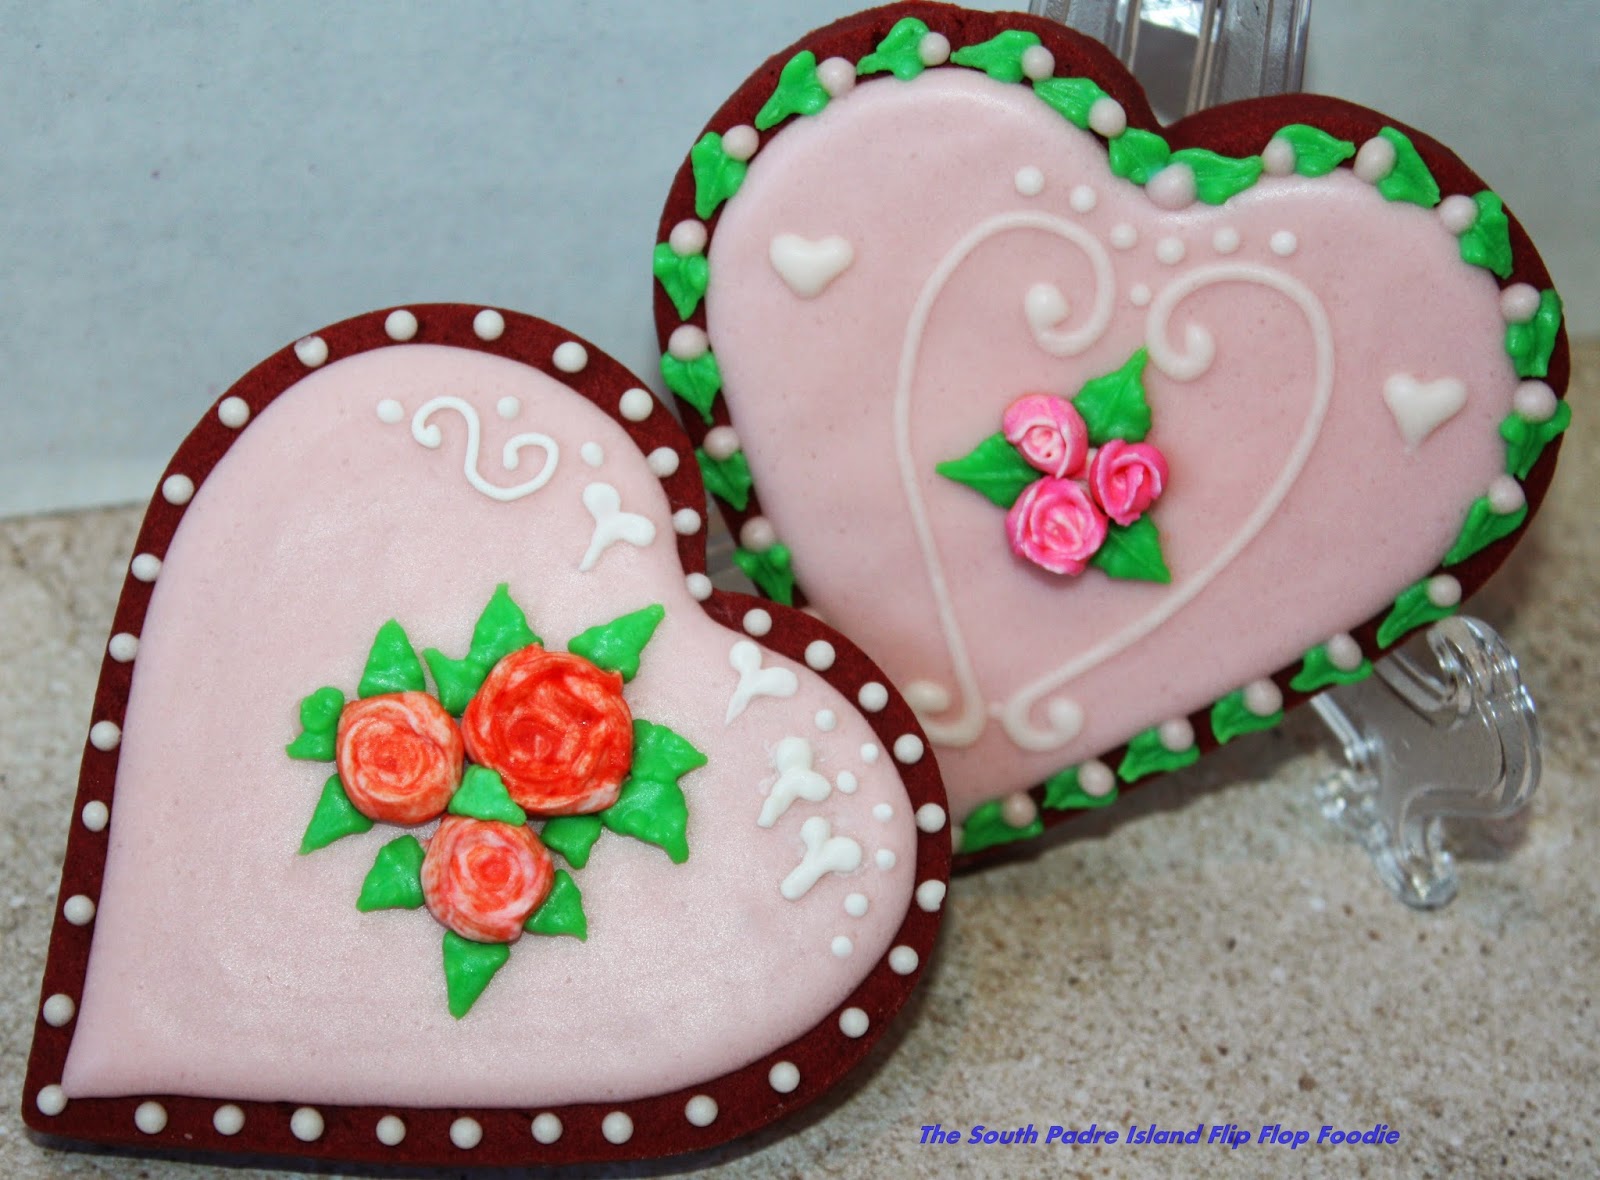
Also had fun with the "wedding bouquet" cookie cutter using the tiny piped roses I learned from my SweetAmbs Craftsy Sweet Elegance class.  They turned out cute I thought.

My friend, Jessica, took the photo below of one of the bouquets - she's an awesome photographer and I really enjoyed her visiting a cookie decorating day at my condo.  All of the ones that I could not take or wouldn't have thought to take (me working on the owls, the piping bags on the table, etc.) were taken by Jessica and you can see them in the Food Photography gallery at Just Us Photography.
I also acquired this cuteeee tiny cupcake cutter which I know I will use repeatedly for upcoming birthdays and other celebratory events.  They are so sweet.

I used a lot of new and not-so-new stencils on a variety of cookies.  I enjoy stencil work quite a bit.  I am getting more tools to help steady things during the process (which you can read about here). The lips and the guitar necks were new to me and I liked their addition to this "musical set".  My granddaughter is in choir (upper left went to her), my middle son has given me a lot of Mary Chapin Carpenter music over the years, so he got the upper right (I'm sure he won't think that's too weird - he'll "get" the connection)  The Love Me Do nod to The Beatles went to my youngest Beatles fan...he texted me that it was "cheeky, Mom".  Fun to do, one and all. Love baking for my family above all others!


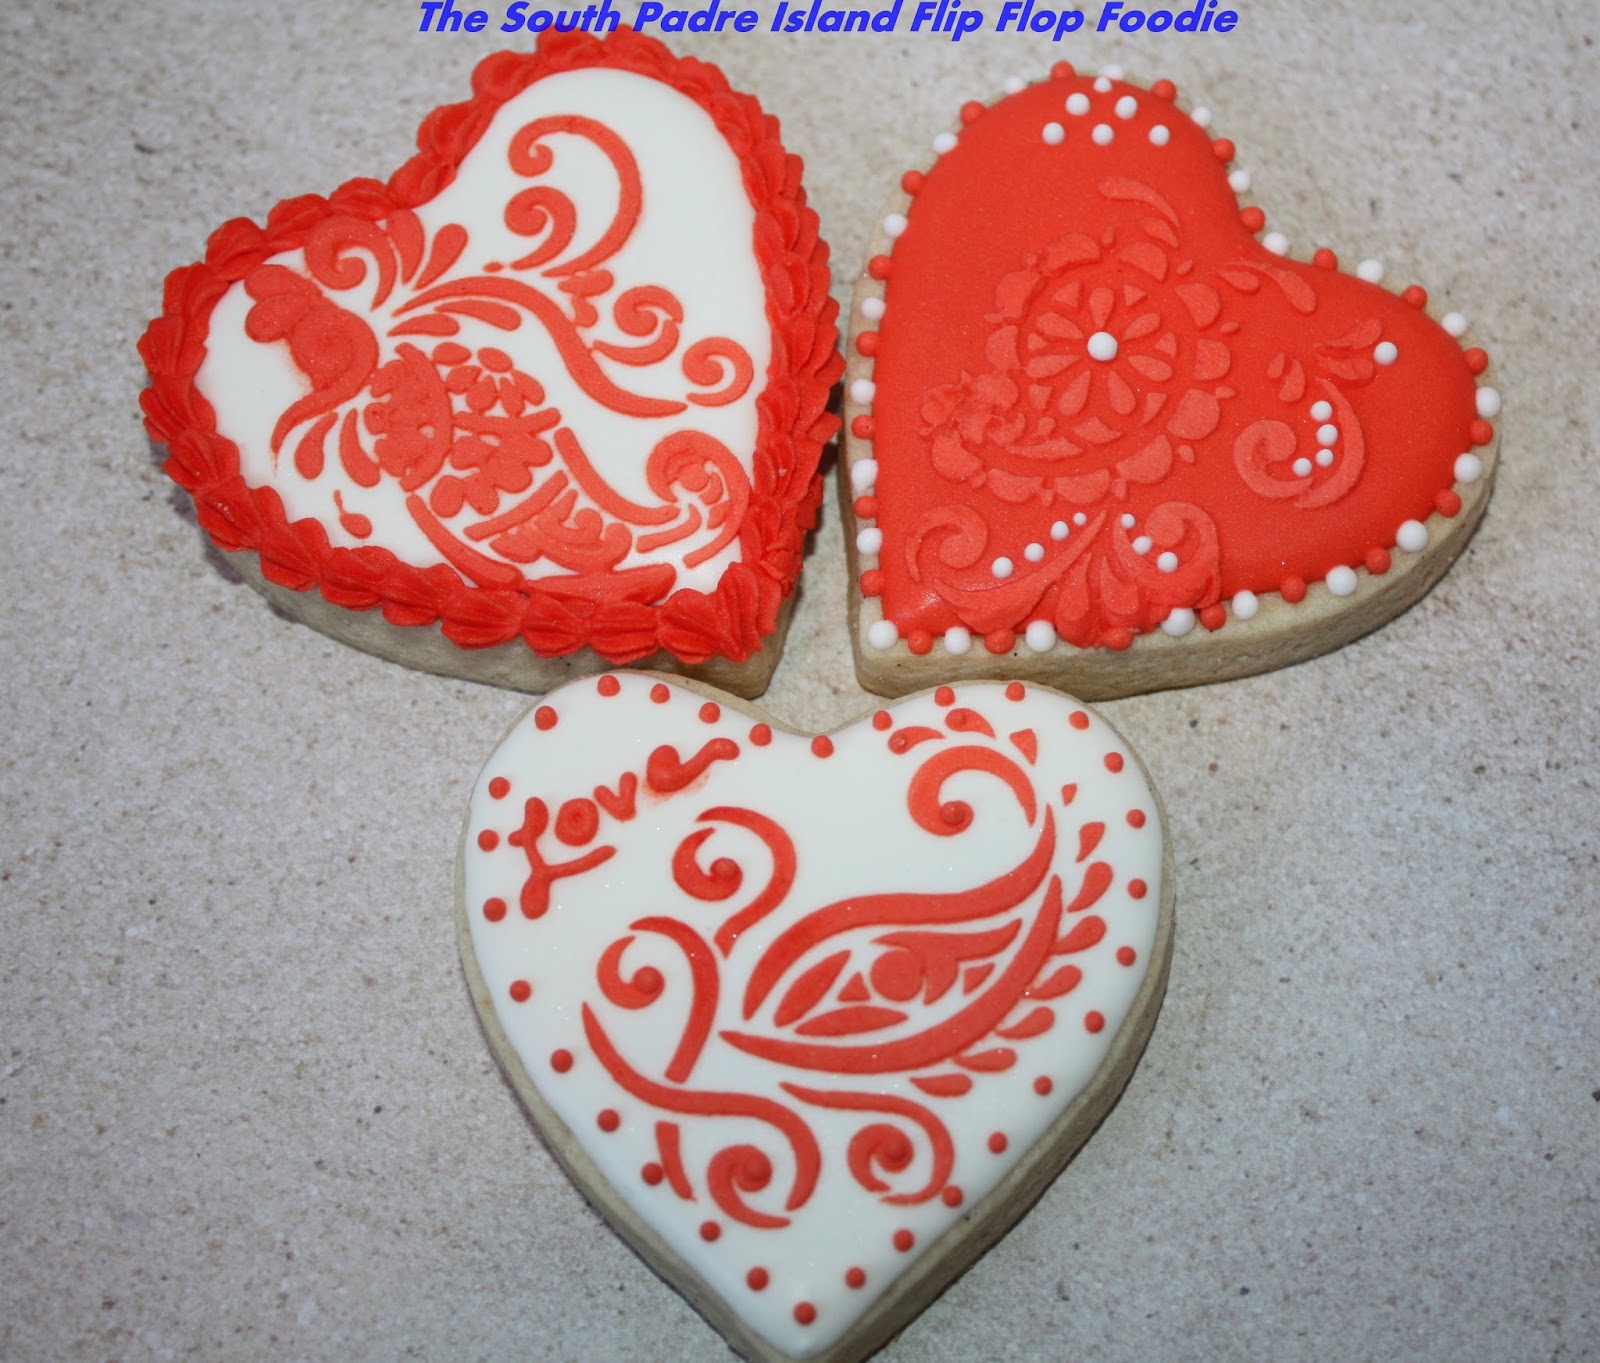
I have worked for over two years trying to free hand scroll work without a template or looking at a picture.  I finally just sat down and did this heart on the left below - and the light wasn't even on!  Maybe I just needed to forget the fear of messing up and just go for it.  Turned out pretty well - and I was happy about having one I didn't cringe from.  I love the look of scroll work on cookies - looks elegant.  Another skill learned from Amber Spiegel of SweetAmbs.  She makes it look effortless.

I'm giggling over my ASL "I Love You" cookies - they looked a little funky to me, but I've not figured out just the right way to make them look right.  I've done three sets of these in the past and none were worth photographing.  I'll keep working on it and WILL get it right eventually!

These last three photos were using the chocolate cookie dough from LilaLoa's recipe and a slightly altered recipe of my cream cheese meringue powder icing to top them.  Crusted much better and tasted pretty darn good.
Rolled and cut large hearts and cut out the center with a
smaller heart - which I simply iced below.
Photo by Jessica
I enjoyed quilting on this cookie on the right.
On the first one I didn't measure the lines.  Awful.
This one I used a ruler and an edible
marker and it was just right.
Another technique I worked on this year was making a
ruffled lace edge on some of the hearts using brush
embroidery.  More techniques learned from the
tutorials from Montreal Confections, McGooU, and
 many other cookie artists.  It sounds easy...but I had to
find just the right brush to make it work right.
Well, that's the end of the cookies I (or Jessica) photographed.  I baked 90, ate a couple, and decorated about 70 cookies.  I know my sons' and my granddaughters' cookies arrived at their destination unscathed.  I have a few local friends to deliver to and then I'm finished with the Valentine decorating extravaganza.  Mr. Flip Flop ended up on-call on the 14th, so we will be celebrating on Friday the 13th.  Hope it's a good luck day for us!

May every day be filled with love - whether it is love for your best friend, your beloved, your family, your pet, the beautiful outdoors, the beach, the mountains...whatever rings your chimes.  Let it fill your heart on the holiday of love.


Bon Appetit, Y'all!!!


StumbleUpon

Thursday, February 13, 2014

Valentine Cookies 2014


My husband asked me "who are all of these cookies for?" .... and I replied "oh, family and friends".  He just looked puzzled and walked away.  I asked him later, why did he ask?  Did he want to know if he could eat them, did he want to take some to work?  He said, "no, I just wanted to know why you made so many cookies."  My batches of cookie dough usually make about 2 1/2 dozen average sized cookies.  I baked off 2 1/2 batches of cookies and ended up with over 6 dozen undecorated cookies...then through trial and error, I ended up with about 5 dozen assorted sized cookies, decorated for Valentine's Day.


So, my dear, that is a good question!  Why DO I make so many?  I always have all of these ideas - and I want to try them all - and I plan them out.  Then, I end up going off in some different direction and I end up with lots of cookies.  My friends seem to be happy to be the recipients of the excess cookies.  My family enjoys getting them, and Mr. Flip Flop said "I wouldn't mind taking some to work".  All those cookies will be gone in no time!


So, for the almost final batch of Valentine's Day cookies, I present my favorites of the Vanilla Bean Sugar Cookies for February 2014.  A lot of love in these cookies!  Enjoy show & tell  :-)

I am slightly addicted to DesignerStencils.  They are consistent
and beautiful and sturdy.  I have the least "trouble" with their
culinary stencils.  Nice people too!

I did a pearl spray over a stencil from Etsy seller StencilLand.  These
ended up being some of my favorite cookies and I actually put
them off to the end because I couldn't decide what to do with them.
White on white always seems so elegant to me.
Used various stencils - one from Designer Stencils and the other
two were just craft store purchases.  I enjoyed messing around with
"different" kinds of borders using my #13 Wilton tip.  I can't
find that tip anymore.  I'd like to have multiple tips.  I used a
#14 to alternate colors - they are nearly the same...but I can tell
the difference.

I kept my color palette fairly basic - pink, white, and red.
I thought about adding gray and soft pink but never
got around to it.  I like the traditional Valentine's Day
colors...and I love a very basic wet on wet technique.
Happy hearts!
These are a small sampling of the many "minis" I made this year.
Ian suggested stacking hearts (large up to small) but I make my
cookies so thick, it didn't look right.  I promised him I'd roll
and cut thinner cookies next year and try his idea.
For some reason, all of the polka dot double hearts I did reminded
me of men's boxer shorts.  Can't get it out of my head every time
I look at them.  (giggle)
Last, but not least, in my favorites were more stencils -
both pearl over red sprayed (stencil from Salsa Sweets)
and the pink on red from Designer
Stencils were larger stencils used on smaller cookies.
I also liked the simple royal icing rose in the center
of a red shell heart.  It reminds me of
a Valentine's card.

Well, those are my favorites of the ones I have finished.  I still have some large hearts to work on.  They were really big and hard to base coat...I'll see what I can do with them tomorrow!

Bon Appetit, Y'all!!!

StumbleUpon

Wednesday, February 12, 2014

Red Velvet Valentine Cookies


I was soooo excited to see Sweet Sugarbelle's recipe for Red Velvet Roll-outs.  She posted it on her website in 2012, but re-posted this year on Facebook for those of us who missed it.  I had been thinking about what flavors to do for Valentine's baking - I like to do at least two and, because my grandkids prefer them, I always include my Vanilla Bean Sugar Cookies in the mix.  I am linking the recipe above because I didn't change one tiny iota of the recipe.  It worked beautifully.  I rolled between parchment paper, wore gloves in fear of red food color hands, used her tip of mixing cocoa powder with flour for dusting when sticky.  Everything was smooth and beautiful.  Best of all, they smelled awesome when baking - enough to draw the boy from his man cave.  Best, BEST of all, they taste divine!  No red teeth thanks to the use of Lor-Ann's Red Velvet Emulsion instead of an entire bottle of liquid red food color, no bumps in the baked dough...smooth and delicious.  Ahhhhh.

So, as I moved on to thinking about decorating them, they were calling out to me, begging for a cream cheese icing.  Red Velvet must have cream cheese frosting/icing.  It's in the Southerner's Rules of Baking Book (if there is one, I'm sure it's in there).  The tastes just marry perfectly and, while I wanted to make them "purty", I did not want to top them with royal icing if I could possibly avoid it.  Let the science experiments begin!

I have previously used Karen's Cookies recipe for Meringue Powder Buttercream.  Gave a lovely mouth feel to piped icing.  However, it took three days to dry down in my humid May environment.  I knew I was going to be decorating a lot of cookies for family and friends, I was worried I would not have time.  My usual time frame takes five preparation days, including making the dough, baking, making the icing, and decorating in layers that require complete drying overnight between layers.  If I experimented and it didn't dry, I was afraid my cookies wouldn't be done until AFTER Valentine's Day! 

I cogitated about it a bit with a cup of coffee, sitting here cursing our weather, which is unusually cold this year (like the rest of the southern United States) and cut on the television to Food Network.  Now, my husband would say you can't cut anything on...you can turn it on, but only cut it off.  Yankee, what does he know?  All of us down south know you absolutely can cut on lights, cut on the a/c, cut on the fan, cut on the t.v. - right?  I digress.  On that television was Alton Brown, discussing cakes.  Red Velvet Cake in specific and the fact that the invention of cream cheese "saved the south" because it had a much higher melting point than butter so it became the standard in frosting in the very warm southern U.S. - light bulb goes off in my tiny little 'ole brain.  Maybe I could use cream cheese instead of shortening in Karen's recipe for MP Buttercream.  Instead of Almond extract, maybe I could use some of the Lor-Ann's Cream Cheese emulsion that I had in my cabinet.  Lastly I remembered I had not used the extra MP last time, Karen recommended double for humid environments...I would do that too.  Woo hoo, I was off to the races with my fingers crossed.

I got everything out, mixed it up, and shoulders slumped...it was too runny.  I added another cup or so of confectioner's sugar (maybe even one and a half) and beat it some more.  Now...that's what I'm talking about.  Perfect flood consistency icing.  So, I piped some on a naked cookie and halved the cookie with one of my food testers (Mr. Flip Flop) and we both agreed - yum!  Next to ice some more hearts and see if they would crust.  I put them under the fan and four hours later, the had a light crust, but my finger pressure broke the surface and it was still very "floody" underneath.    I left them untouched under the fan and the next morning I tried again.  They felt smooth for the most part, but still could be crushed.  I could work on them if I was careful and hope they'd continue to set up.  One of the things I noticed is the cookies closest to the fan had "waves" in them.  These were sacrificed to the taster and I allowed most of those wavy ones to continue to dry so I could check on drying status with ones I wasn't going to decorate...but then, I decorated a few to see if the wavy could be hidden by decor.  Actually, that worked pretty well!  Bottom line...the Cream Cheese MP Icing worked great.  Like the MP Buttercream, though, it did take 3 days to get dry all the way through to the point where I could package and stack them.  However, I could marble, I could make dot borders, and I could pipe some "designs" - although I did have a bit of running-together with that.  Anything that is bright white or a rose is royal icing.  The softer colors (and the green piped leaves) are all CC MP Icing!

So, here's the recipe, based on Karen's recipe, with my tweaks.  It's good, and if you have the time for them to dry, it's very, very tasty.  Fortunately, the Red Velvet cookies were so moist they stood up to the time under the fan.  Still soft to the tooth inside and incredibly delicious (I know because I just ate one to make sure ;-).


Cream Cheese MP Icing
Tested in a humid environment
Adapted from Karen's Cookies Recipe


Ingredients:

1/3 cup room temperature water
6 Tablespoons Meringue Powder (I use AmeriColor MP)
4 ounces regular cream cheese, room temperature
5 1/2 to 6 cups of sifted powdered sugar (sift first, then measure), divided
1 teaspoon pure vanilla extract
1/4 to 1/2 teaspoon Lor-Ann's Cream Cheese emulsion (shake before measuring)


Method:

Place three cups of the powdered sugar and the meringue powder in the bowl of a stand mixer with the whisk attachment engaged.  Turn the machine on and whisk the two dry ingredients together until thoroughly mixed.  With the mixer still on, slowly stream in the water.  Mix until everything is incorporated, scrape down the sides if needed.  Turn the mixer on high and whip until stiff peaks form.  Add flavorings and mix well.

Change to paddle attachment at this point.  Try to get as much off of your whisk attachment as possible.  Use a rubber spatula to help with that.

Add remaining powdered sugar and the cream cheese.  Whip for about 3 minutes - or until you get to flood icing thickness.  Don't whip any less to prevent separation.  I used this as my base.  Store icing in the refrigerator with plastic wrap laying on the surface to prevent crusting (I'm guessing here - that's how I do anything that crusts).

To make piping icing for the leaves, I added powdered sugar and some base together with the green food color (AmeriColor gel leaf green) until it was the consistency I was seeking.

I think you can see from the photos, that it worked really well.  It tastes delicious and worked...what more can you ask for?  Well, you could have asked me to test it more than once to ensure consistent results...but I don't have time.  I welcome any feedback if you try this.  I haven't found anything in a Google search that provides a similar recipe, so I was on untried ground as far as I could tell.

I did find that it was easier for me to do writing with royal icing and the roses are all royal icing transfers I made on another cold day last week.  They are great to have on hand and a good way to use up your unused royal icing.  They last forever if kept in an airtight container!

Well, that's it for the experimentation phase of my Valentine's Day cookie decorating.  I'm onward to the rest of the cookies, still hoping I will get finished in time!


Bon Appetit, Y'all!!!

StumbleUpon

Wednesday, February 6, 2013

"Love" Cookies

The beginning of the 2013 Valentine Cookie Season
I don't know that I'm saying "I'm back"... but I have scraped myself up and "put on my big girl panties" and BAKED.  Finally!  Rough family stuff (too much to share here) resulted in a nearly two-month hiatus from doing most anything creative.  My brain just wasn't on that page.  Hopefully, I can keep myself motivated now that I got started!

While cleaning out my freezer I found a double batch of Apple Butter Cookie Dough all nicely wrapped and ready.  I had completely forgotten that I'd made that before everything crashed around me.  Score!  While that was thawing, I felt motivated to make a batch of LilaLoa's "The Vanilla Variation"" of her Sugar Cookie Dough and between the two, that got me baking!  I ended up with 16 large hearts, 40 medium size "shapes" and 60 minis.  I still have some vanilla sugar cookie dough in the fridge.

My first efforts were just some circles, squares, and rectangles in hopes of getting my piping skills going.  I'm one of those "don't use it you lose it" people.  I felt vaguely cursed because NONE of my icing turned out the way I wanted.  Again, when you do it regularly, you do it right.  This time, well...not so much.  My piping icing was too thin to hold some of the shapes, my flood too thick to lay down straight, I got craters, my little heart transfers didn't "heal" properly, and I learned I can't make my nail flower go in a complete circle without having to reposition my fingers.  (oh, so clumsy) Add to that, my icing didn't hold it's shape for the ribbon roses either.  It was supposed to be the thick stuff! Man, I was screwed.  I kept telling myself the Dory-the-fish line "Just keep swimming.  Just keep swimming".

I decided I would indeed just keep going and finish the cookies I had... I was trying out new tools I got for Christmas and as part of my retail therapy shoppingin January.  I got a heat gun from my son and I bought myself some stencils and new cookie cutters and better tasting Red Tulip AmeriColor gel from Karen's Cookies (man, I love opening boxes from Karen and Mike!).  I read a post from Sweet Sugarbelle about why this red food color isn't as icky as some of the other reds we've all used.  I ordered a big bottle!  Between Valentine and Christmas and Patriotic cookies - red is a popular color!  I also broke out my new airbrush and practiced with water...that will be the next thing I attempt "for real"!

Anyway, I got to it and this is just a post with a few photos (with the good, the bad, and the not-so-ugly).  Why I would share some of these?  I don't know.  I think I just have to start somewhere.  This will help me move along so I prove to myself I can do better.  I won't point out all the booboos, but the cookiers will be able to see everything I'm talking about.  No need for anyone to point out the obvious (like when I was wiping my tip and accidentally sucked up a drop of water from my too damp cloth and then aimed right down at my cookie...oh mercy).
I am dot crazy apparently.  I just felt like
everything was looking better with dots!

I love having the virtual friendships that have allowed me to continue to talk about cookies and tips of the trades on Facebook.  I think I now officially converse with cookiers more than my "regular" friends (oh wait, none of my friends are regular...they are all unique).  I'm not sure that is a good thing...but for now, it's what I need.  Cookie Convo!  I am also completely dedicated to finding my way to Cookie Con 2014.  Fingers are crossed.
I'm no van Gogh...but this is MY blue period!

So, here they are.  They are packaged up and ready to give to people who don't care that I'm not perfect and know what I've been going through.  Now that I think about it, I'm really surrounded by lots of good souls.  I feel happier than I have in a good bit.  Hope it's a trend!

Bon Appetit, Y'all!!!

SHARED WITH:
">
StumbleUpon